
Replacing the battery
To replace the Rockscan W100 scanner battery, proceed as follows:
- Open the battery cover: Push the lock switch (above the connector) to the left whilst lifting and removing the cover.
- Remove an eventually present battery.
- Insert the replacement battery. Make sure that the battery contacts match the connectors in the battery compartment.
- Close the battery cover: First insert the "noses" of the cover to the corresponding holes in the scanner housing. Then, push the lock switch on the cover to the left and hold it in this position. Push the cover down into its position and release the lock switch. The lock switch will go back to the right by itself and securely lock the cover.
- Connect the cable included in the scope of delivery to the scanner to charge the battery.
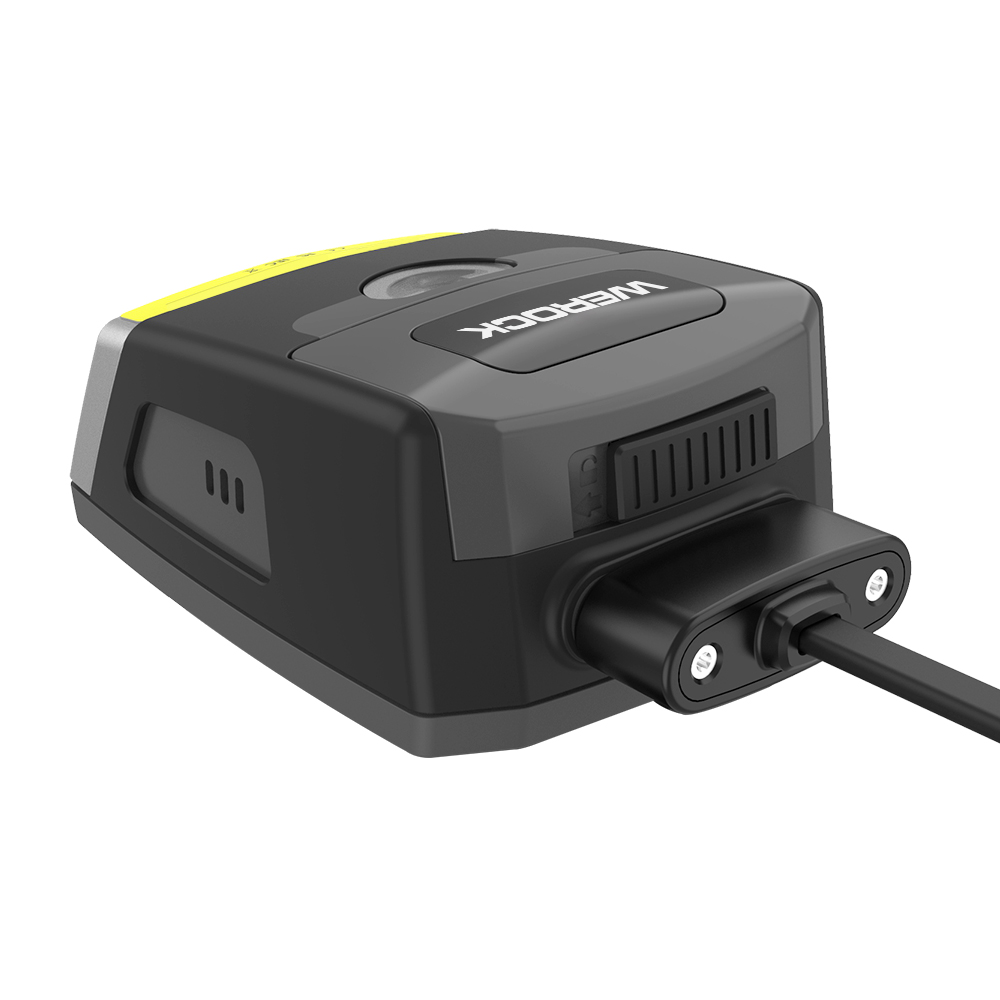
- Connect the cable to a suitable power supply unit or computer connection with USB type A socket (5 volt voltage, USB 2.0 standard is sufficient)
- If the connection is successful, the LED lights up red and the battery charges.
When the battery is fully charged, the red LED goes out.
Alternatively, the spare battery can also be charged separately using the optional charging stations.
This video shows how to change the battery: