Using the on-screen keyboard
Using the on-screen keyboard
To be able to operate Android devices without an external keyboard, your device offers an on-screen keyboard. This is a virtual keyboard that is displayed on the screen and can thus be operated via touch, mouse or other pointing devices.
This section describes how to set up and use the on-screen keyboard on your device. This section is device-independent and general. Not all operating system variants presented here may be available for your device.
Due to the further development of operating systems and different variants, it is possible that parts of these instructions differ slightly from your device.
Parts of this section:
- Android
- Windows 10
- Windows 10 Set up quick access for on-screen keyboard
- Use Windows 10 in tablet mode
- Windows 11
Android
Basically, the on-screen keyboard is already enabled on Android devices from the start. You only have to type into an input field and the on-screen keyboard appears.
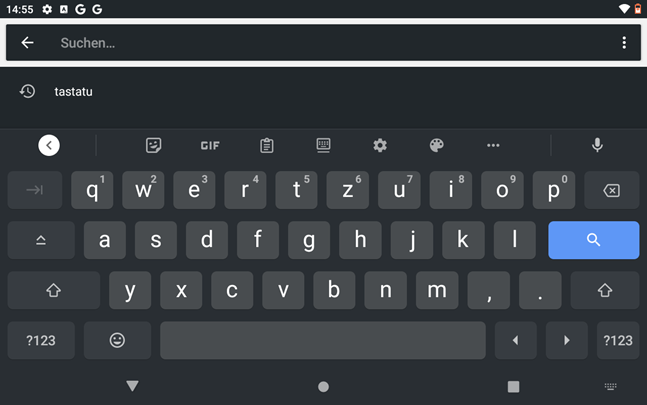
If the on-screen keyboard does not appear by itself, follow these steps to enable the on-screen keyboard on your Android device:
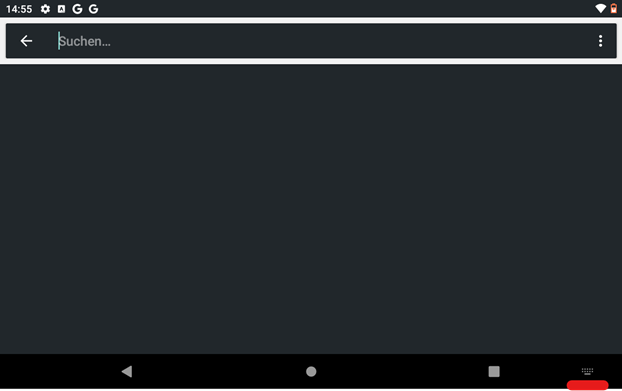
- Click in any input field. Now a keyboard icon appears in the lower right corner of your screen
- Now click on the icon
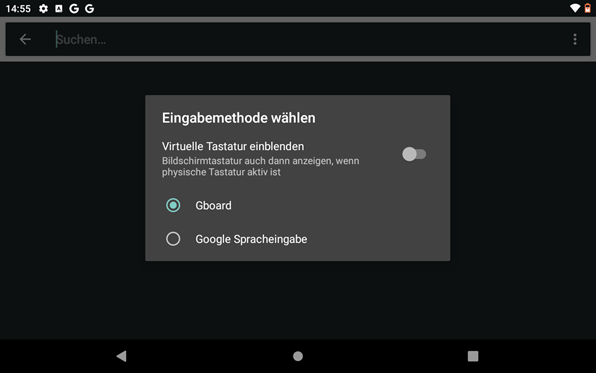
- Now a menu "Select input method" opens.
- Now also tap the slider next to "Show virtual keyboard" here
If you do not find a keyboard icon, proceed as follows:
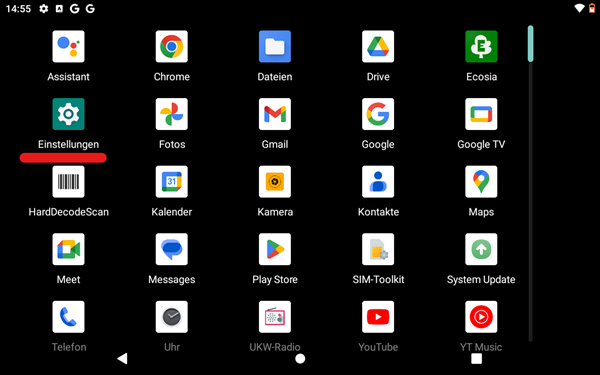
- Open the settings in your main menu. To do this, click on the gear icon.
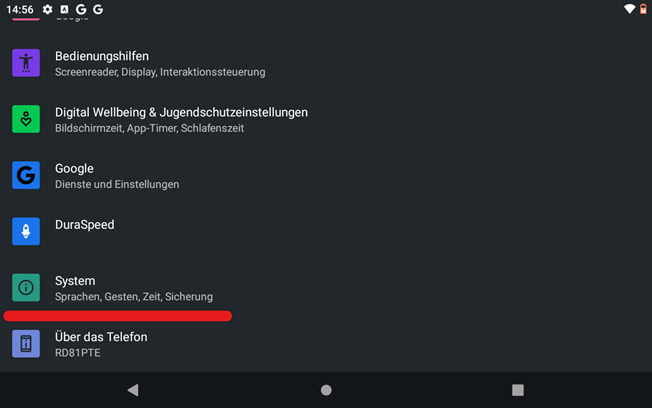
- Scroll down in the settings until you see the System item and tap on it to open the submenu
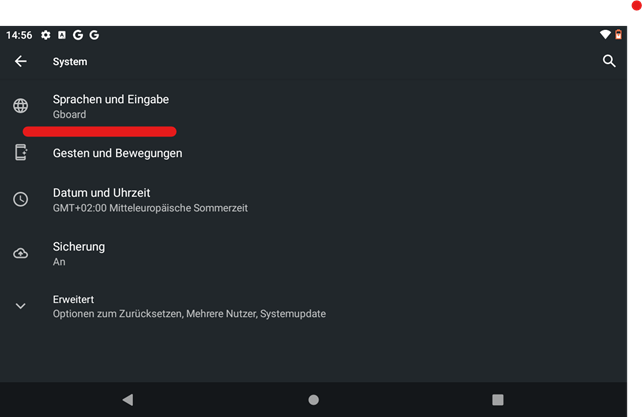
- Now tap on "Languages and input
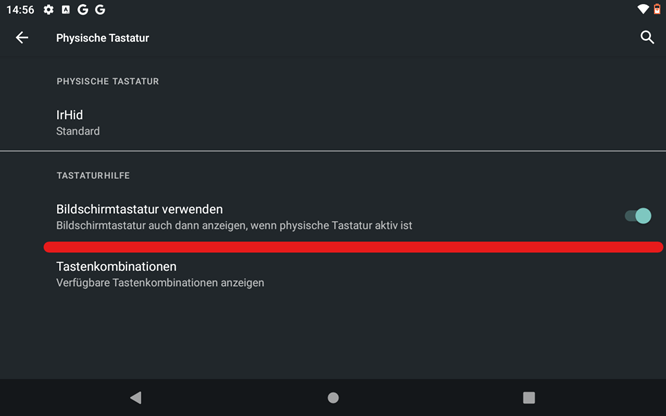
- Now tap on the "Physical keyboard" subitem
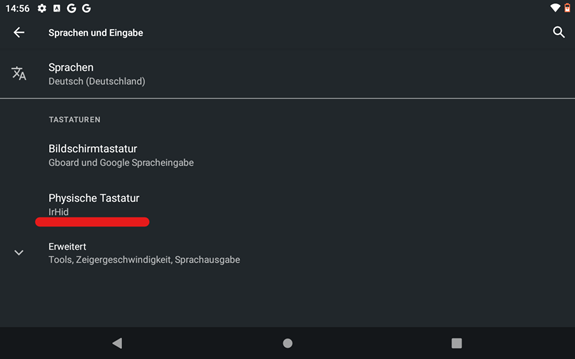
- Now also tap the slider next to "Use on-screen keyboard" here
Windows 10
To use the on-screen keyboard of your Windows 10 computer, do the following:
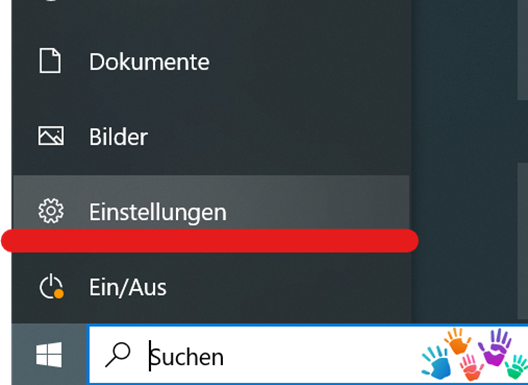
- Tap on Start. You can find this button at the bottom left of your taskbar next to the Search field.

- Now tap on "Settings". Depending on the view, you will only see a gear icon.
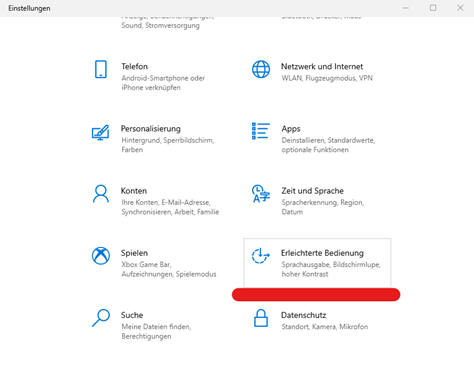
- In the settings, look for the sub-item "Ease of use" and tap on it.
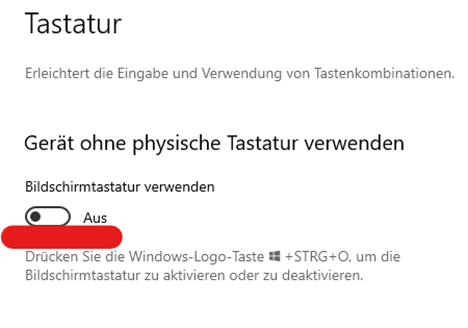
- If the Ease of use menu is open, you can scroll down the left side of the menu to see the Keyboard item. Tap on it
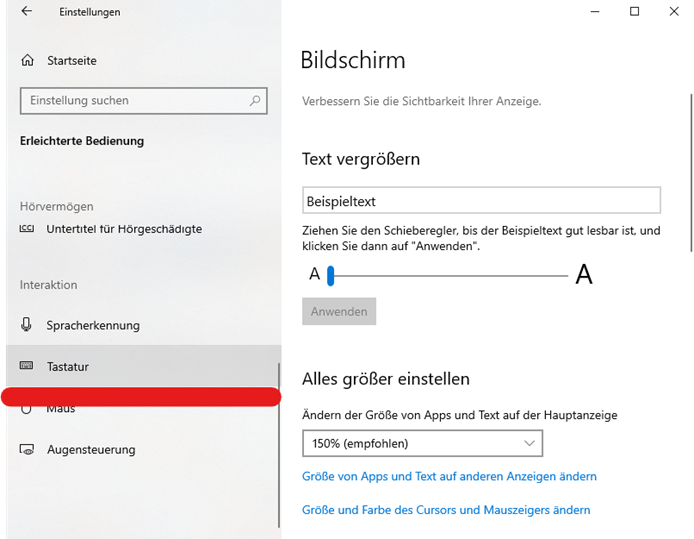
- In the "Use device without physical keyboard" area, tap the slider at the "Use on-screen keyboard" item
Windows 10 Set up quick access for on-screen keyboard
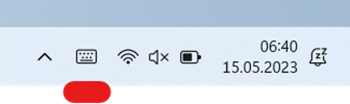
To speed up the process of opening the on-screen keyboard, there is an option to add a quick access button to the taskbar. This, when activated, will then be displayed in the button, next to your time and date.
To add the on-screen keyboard shortcut to your taskbar follow the steps below:
- First, click with the right mouse button in your taskbar. A context menu will open there. If you do not have a mouse connected, you can also open the context menu by tapping on the taskbar until the menu appears.
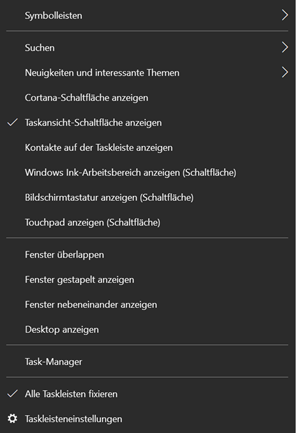
- Now tap on the item "Show on-screen keyboard (button)".
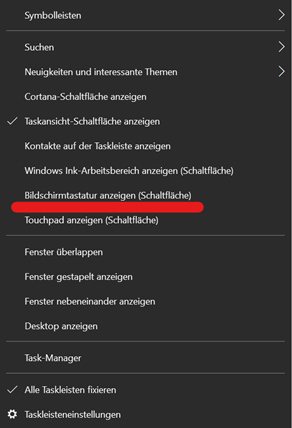
- After clicking on the item, a keyboard icon will now appear in your taskbar. Clicking this icon now activates the on-screen keyboard. The icon remains there so that you can access the on-screen keyboard as quickly as possible when you need it.
![]()
Windows 10 Tablet Mode
Windows 10 has a so-called "tablet mode". This is designed to optimize touch input in Windows 10 and make it easier to use. More precisely, it offers a simpler user interface and automatically opens a visual on-screen keyboard when clicking in a writing field. To activate the tablet mode, it only takes three short steps.
To enable tablet mode on your Windows 10 device, follow these steps:
- In the lower right corner of your taskbar, open the Notifications menu

- Now tap on "Expand
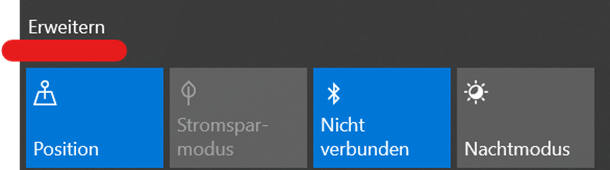
- In the now expanded submenu you will now find the menu item "Tablet mode". Tap on this so that it is highlighted in blue.

- Tablet mode is now activated. An on-screen keyboard opens as soon as you tap an input field
Windows 11
In contrast to Windows 10, Windows 11 does not offer a user-controllable tablet mode. The operating system decides on its own whether it acts in tablet mode or not by checking whether a physical keyboard is connected or not. Currently, this is not always 100% reliable.
In some scenarios, it is possible that no on-screen keyboard opens when you tap an input field. This can be remedied by setting up a quick access in the taskbar.
To add the on-screen keyboard shortcut to your taskbar follow the steps below:
- First, click with the right mouse button in your taskbar. A context menu will open there. If you do not have a mouse connected, then tap on the taskbar and hold it down until the context menu opens.
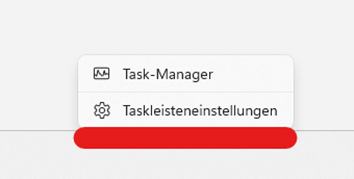
- Now tap or click on the "Taskbar settings" item
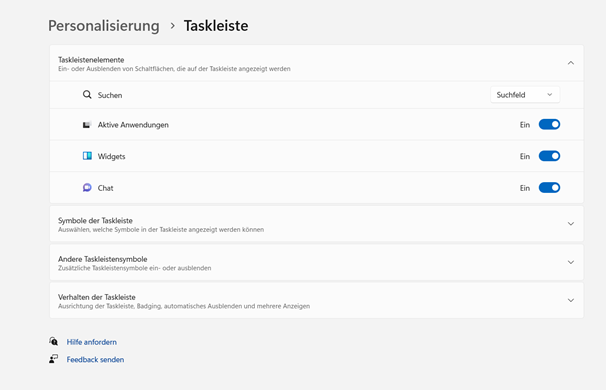
- You will then find the menu item Icons and Taskbar. You can expand this item by clicking on it.
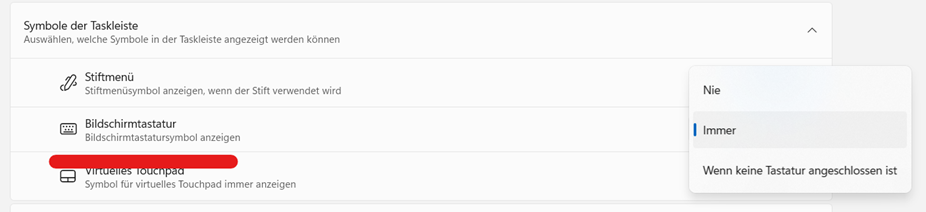
- If you select "Always", a keyboard icon is automatically added to your button. You can click this icon at any time to open the virtual keyboard manually, if it does not open automatically when you click in an input field.