First start
Before using the product for the first time and before using it in everyday life, read the following instructions. This chapter provides information on the correct installation, connection and use of the product.
|
Hint: Items not included in the delivery are sold separately. |
|
HINT |
|
|
|
Damage of the display Do not place heavy objects on the computer, this could damage the display. |

|
Hint: Before connecting the product to a power outlet, make sure that the power cord is not pinched or damaged. Also make sure that the power output is within the voltage range of the product. |
First-Time operation
To put the Scoria M240 into operation, proceed as follows:
- Install SIM card and memory card
- Charge the device
- Start the device
Install SIM card and memory card
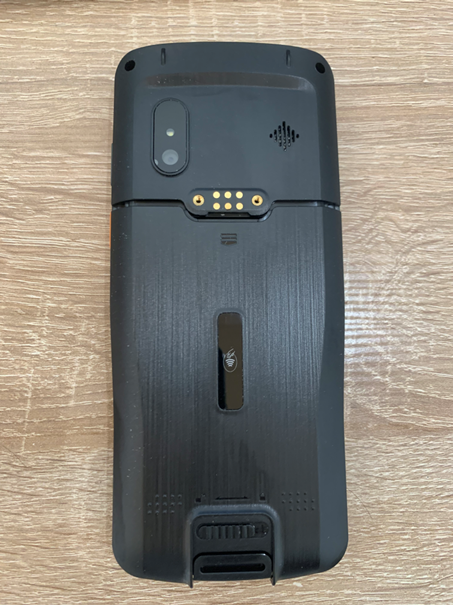
- Make sure that the device is switched off.
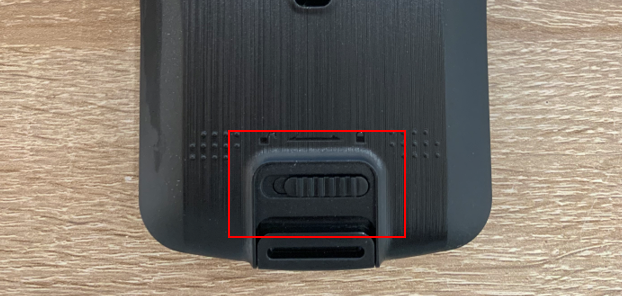
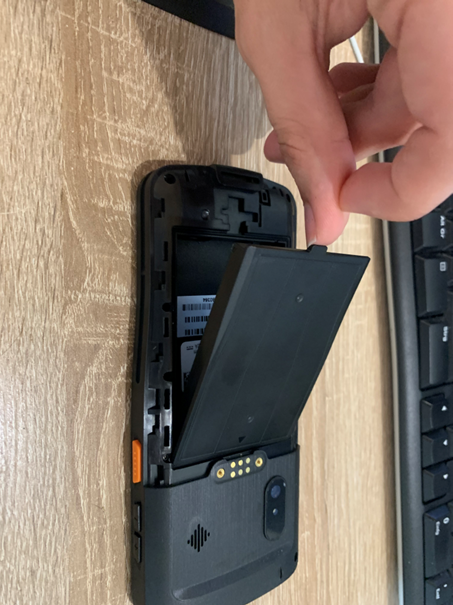
- Unlock the battery cover by sliding the locking mechanism to the left. Unlocking requires some force. Make sure that the latch is pushed completely to the left.
- Remove the battery cover from the device by sliding it downwards and then lifting it off.
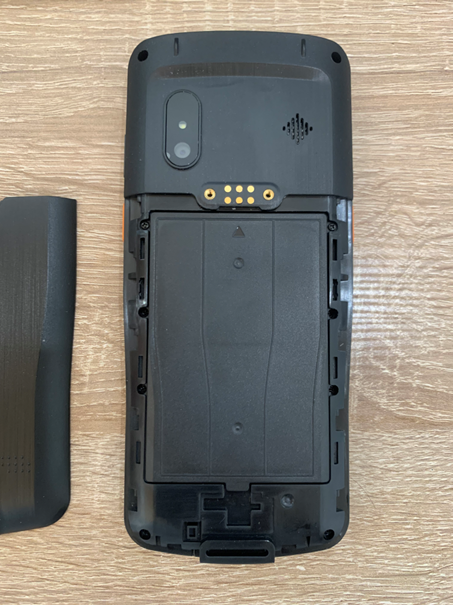
- Now lift the battery by the tab provided and remove it
- On the upper side is the card holder. Using your fingernail or small pliers, now pull the card holder out of position.
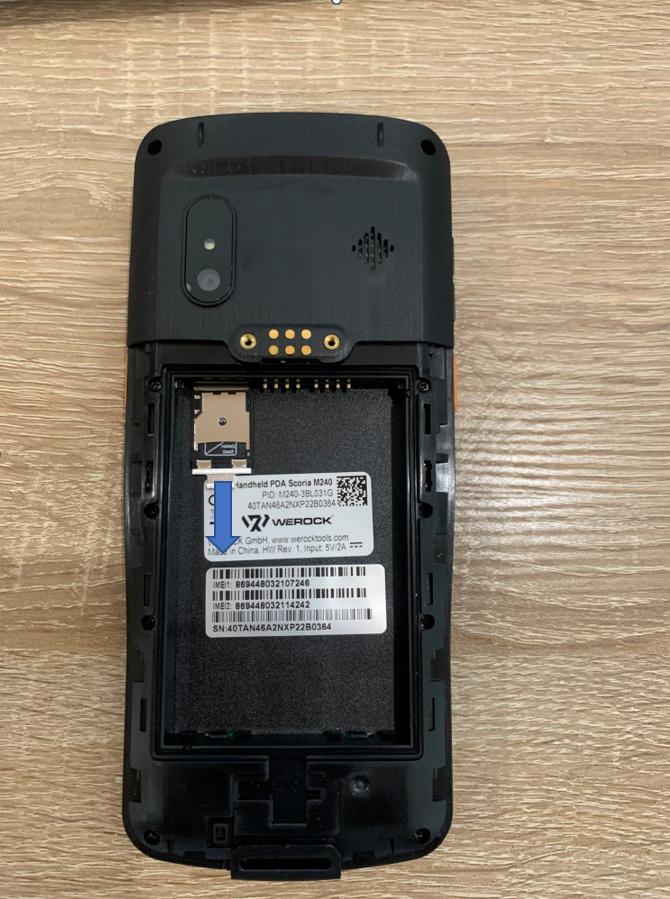
- Insert the SIM card and memory card with the contacts facing up. The upper slot (NANO SIM1) can be used for a SIM card in the "Nano" size. The lower slot (TF / NANO SIM2) can be used for either a "Nano" size SIM card or a Micro SD card.
- Insert the cards so that the contacts are visible.
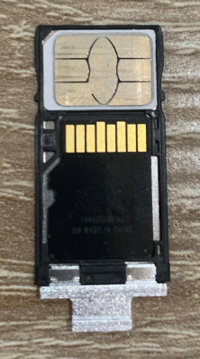
- Now carefully slide the card holder back into the device.
- Insert the battery again.
- Place the battery cover back on the device and slide it up until it is back in its original position.
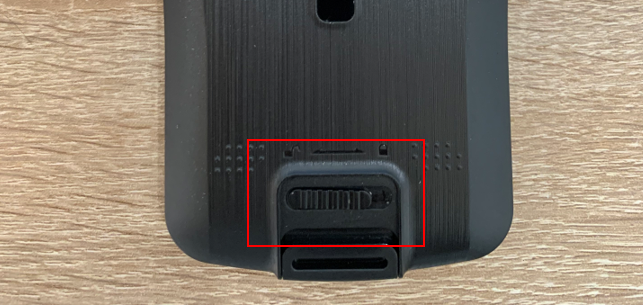
- Lock the battery cover by sliding the locking mechanism to the right. Make sure the latch is pushed all the way to the right.
Charge the device
- To charge the device, you need the power supply unit and USB cable included in the scope of delivery.
- Plug the USB cable into the designated socket of the device.
- Connect the USB cable to the supplied power adapter.
- Connect the power adapter to a power outlet. Make sure that it has the voltage specified in the technical data.
- As soon as the device is supplied with power and the battery is charged, the LED above the display starts to light up red.
Note: Only use the supplied power supply to avoid malfunctions.
Start the device
Press the on/off switch for approx. 2 seconds. It takes a few seconds until a first display appears on the screen.