First start
Before using the product for the first time and before using it in everyday life, read the following instructions. This chapter provides information on the correct installation, connection and use of the product.
|
Hint: Items not included in the delivery are sold separately. |
|
HINT |
|
|
|
Damage of the display Do not place heavy objects on the computer, this could damage the display. |

|
Hint: Before connecting the product to a power outlet, make sure that the power cord is not pinched or damaged. Also make sure that the power output is within the voltage range of the product. |
Connection to the mains supply
Once the product is installed, connect the product to an electrical outlet using the supplied power supply. Make sure that the cable is firmly seated in the product. The charging process is indicated by an LED on the front of the product.
- Install the SIM card
- Install the memory card
- Install the battery (Rocktab S110 only)
- Charge the device
- Start the device
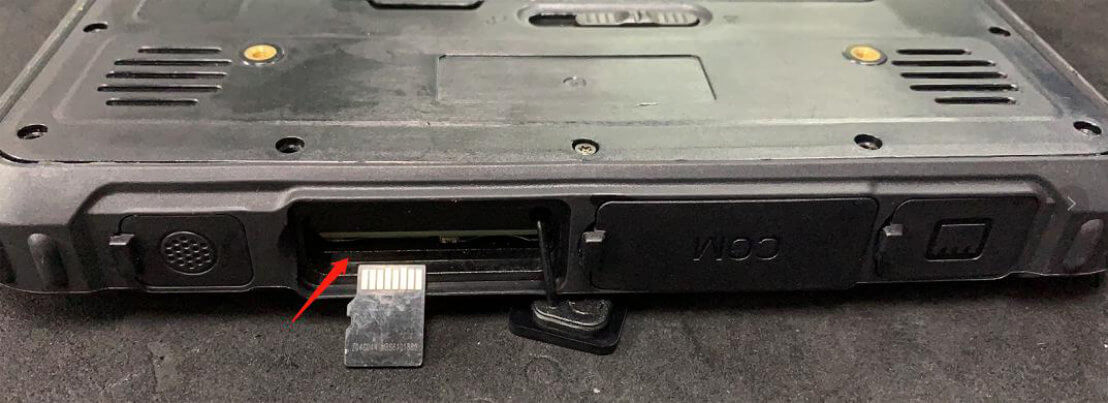
Install the SIM card
- The card slots for SIM card and micro SD card are located under the cover with the SIM card symbol.
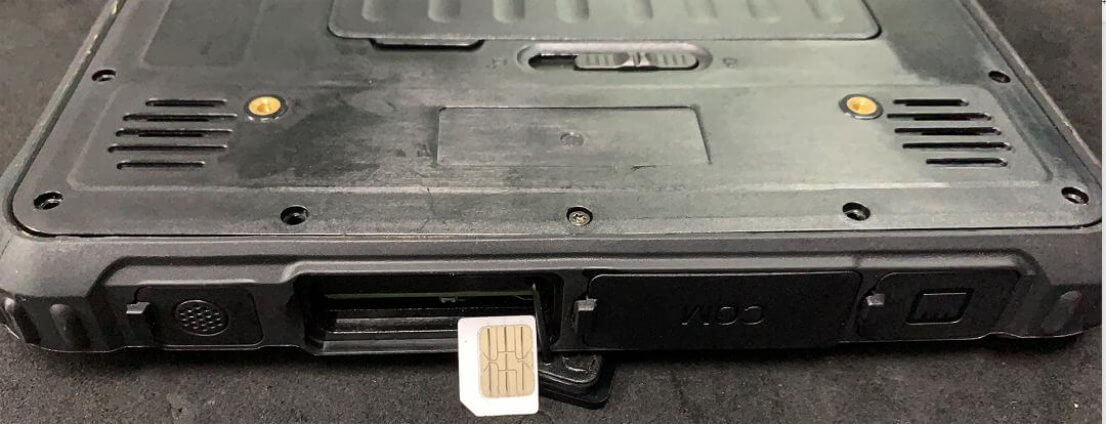
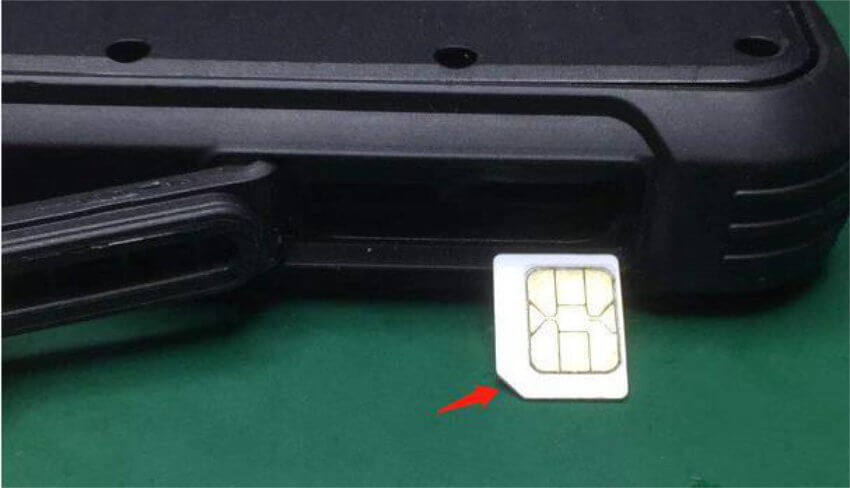
- Carefully slide the SIM card into the slot until it clicks into place. The contacts must point to the back of the device. Push the side with the bent corner at the end into the device.
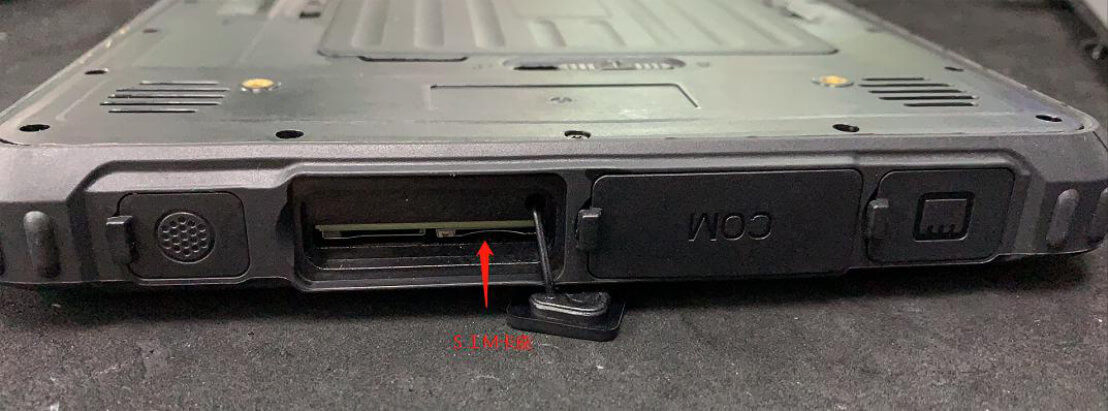
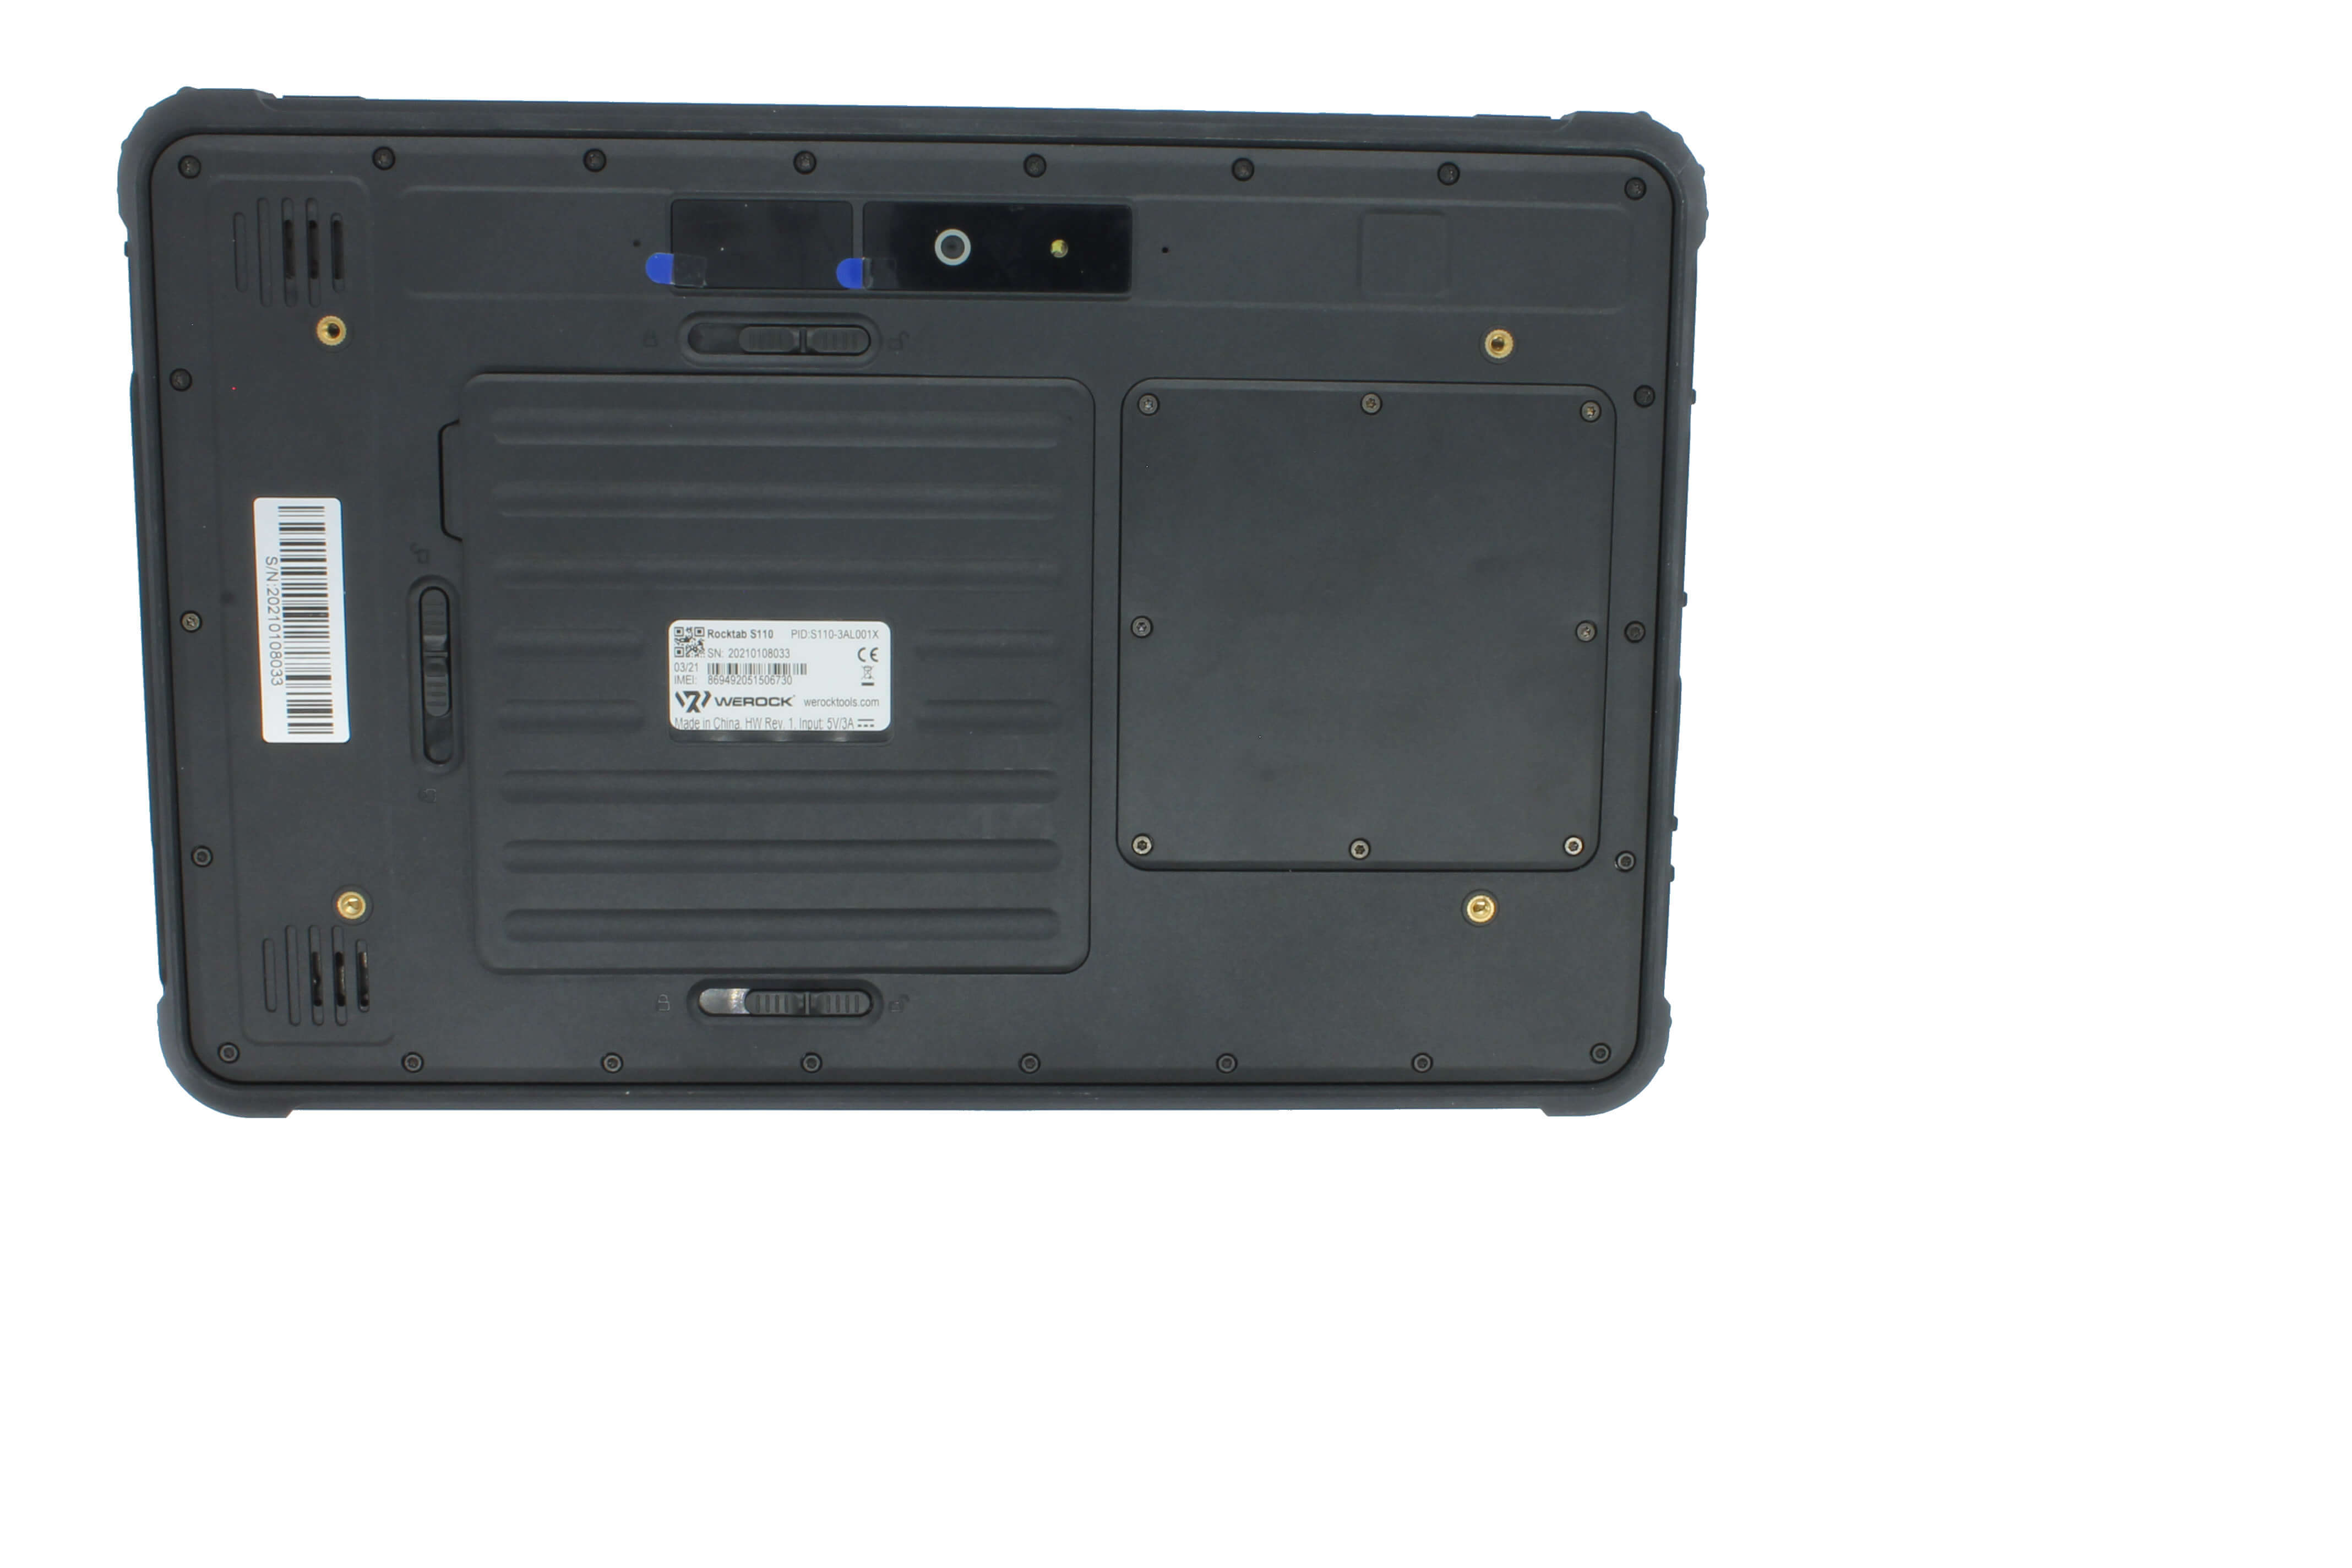
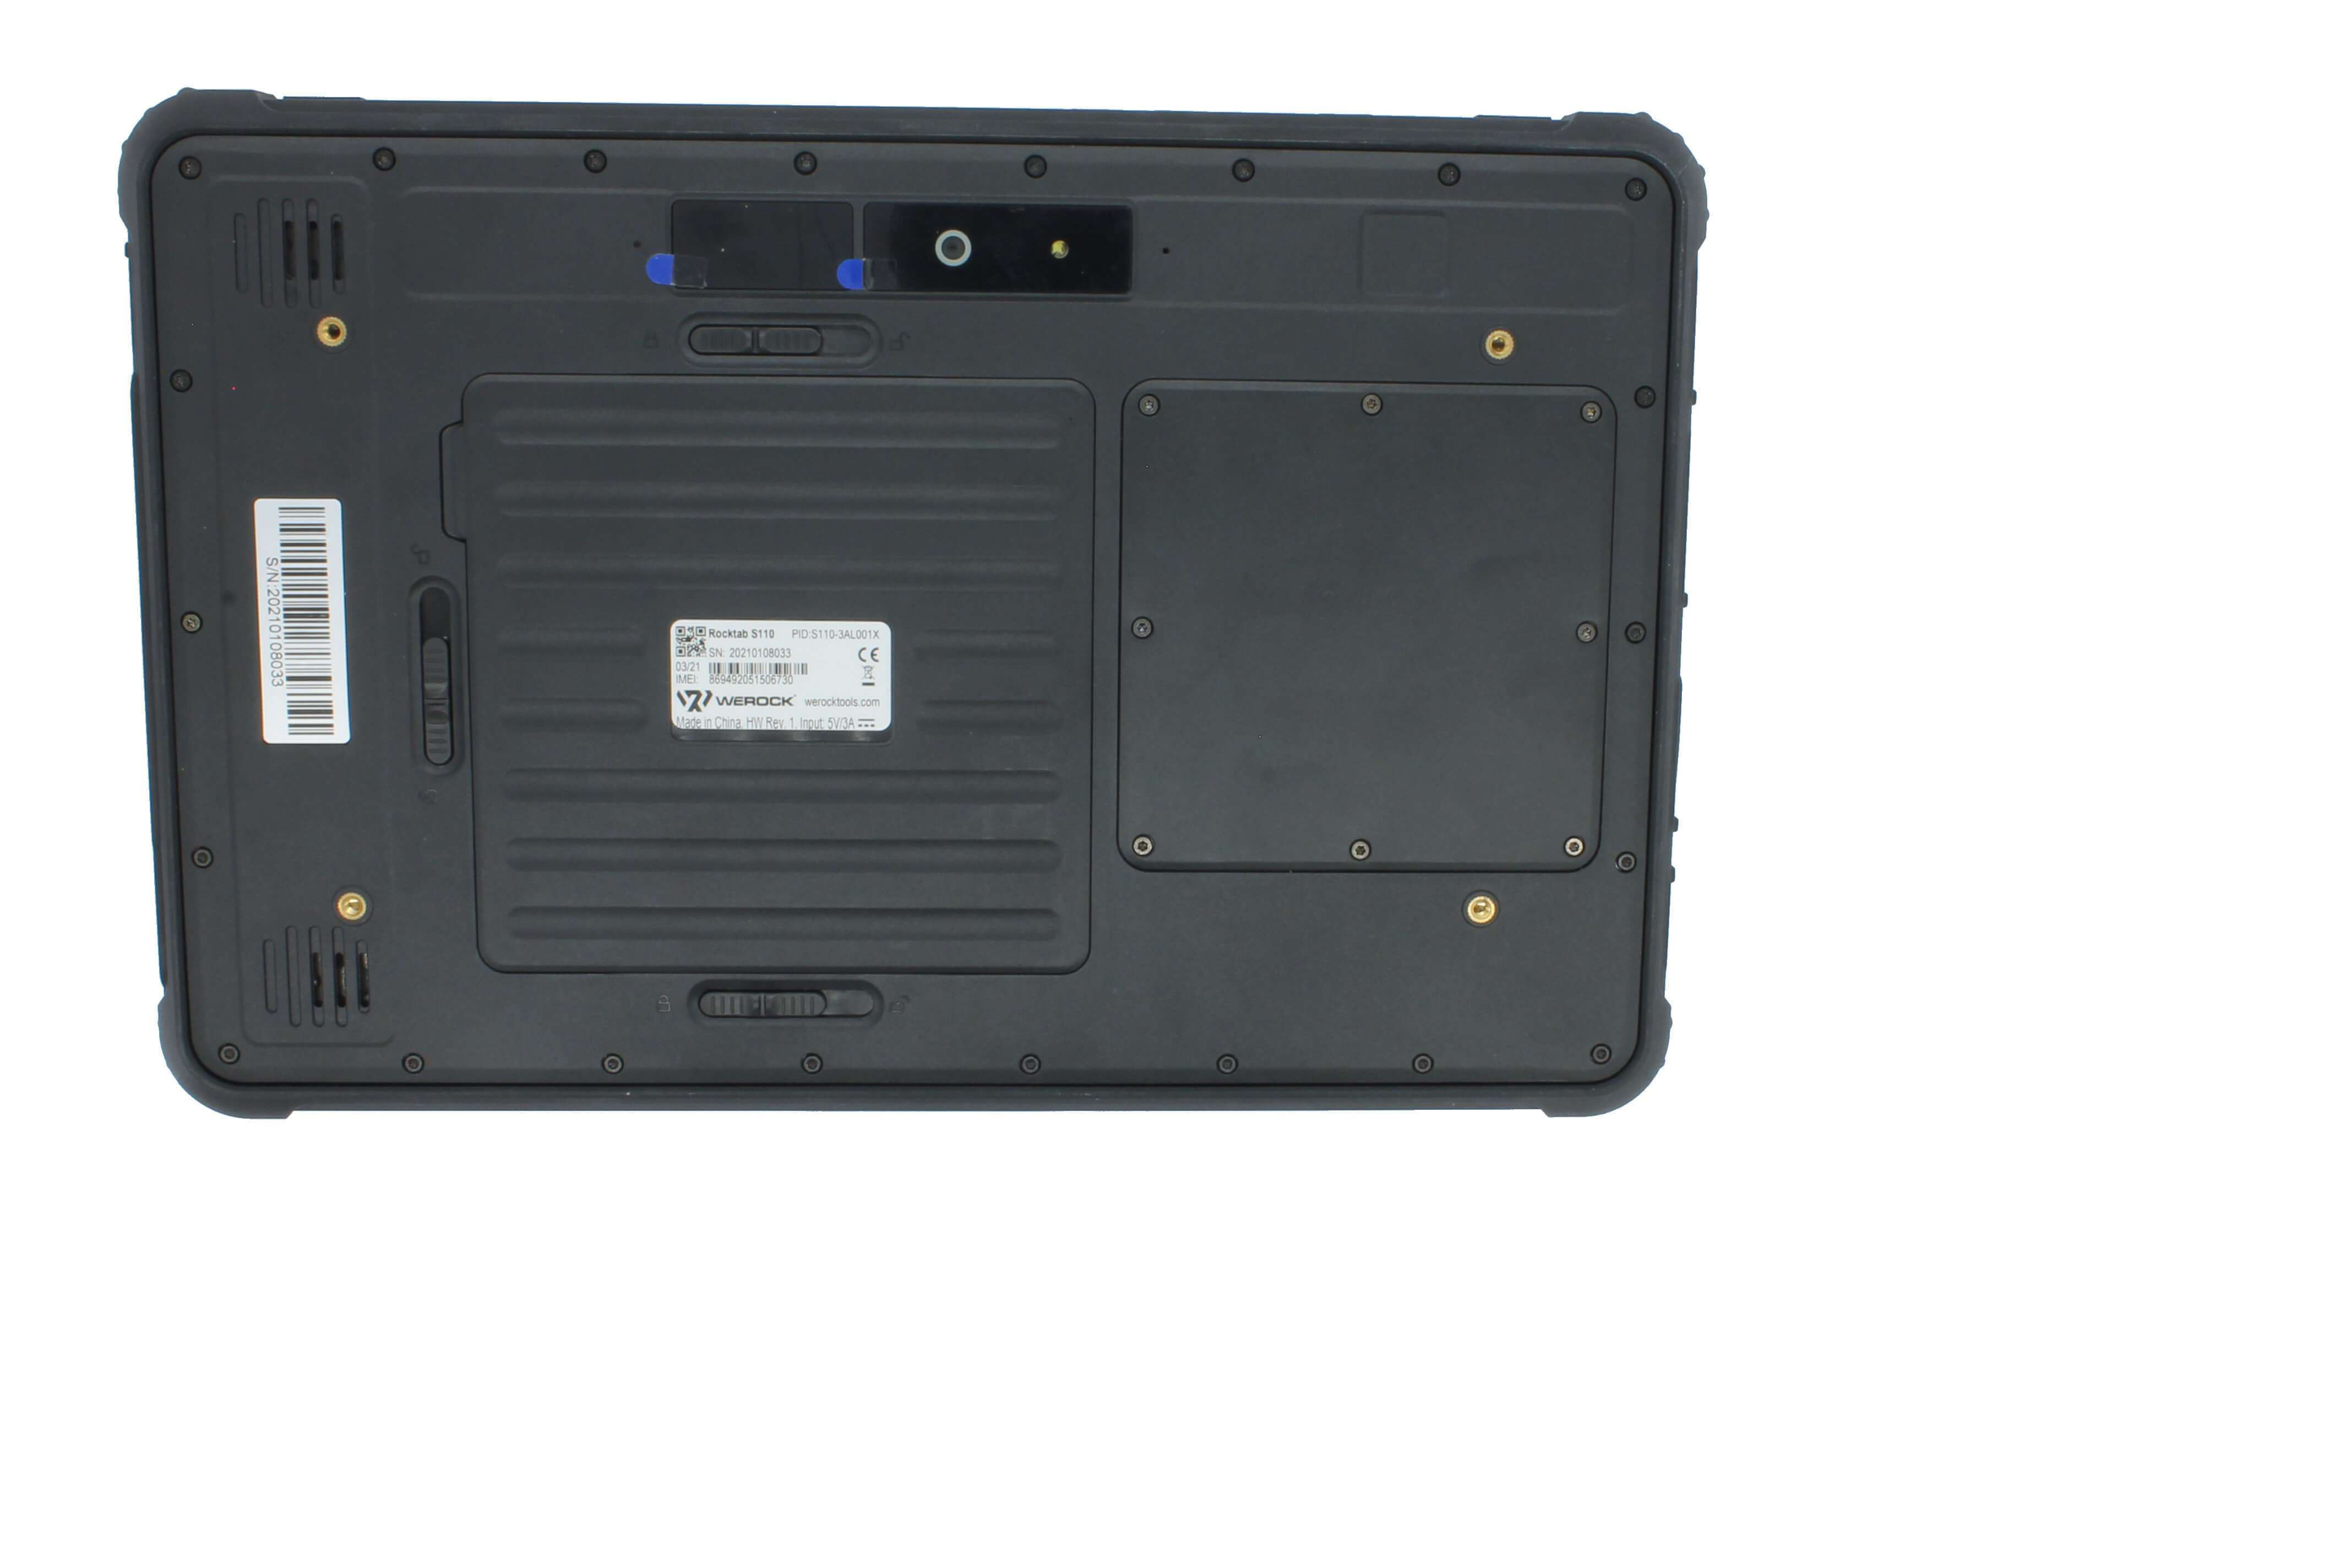
above picture shows Rocktab S110
above picture shows Rocktab S108
|
|
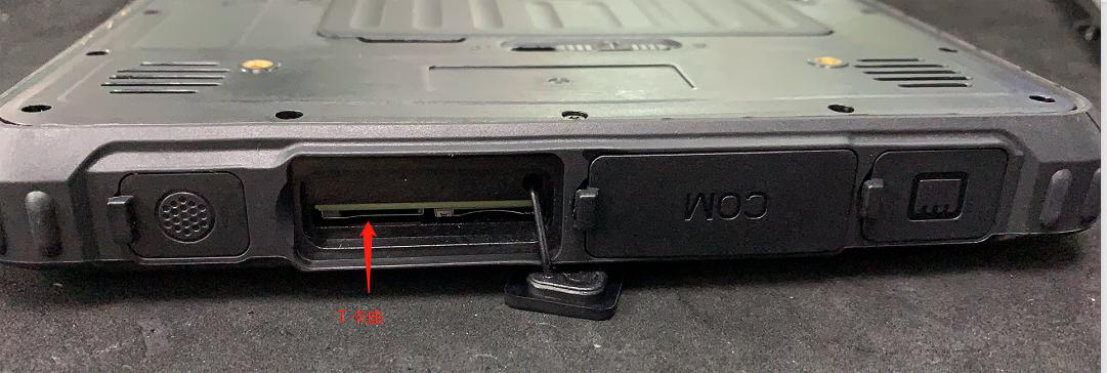
Install the memory card
- The card slots for the SIM card and micro SD card are located under the cover with the SIM card symbol.
- Carefully slide the SD card into the slot until it clicks into place. The contacts must point to the back of the device. Slide the side with the contacts towards the front of the device.
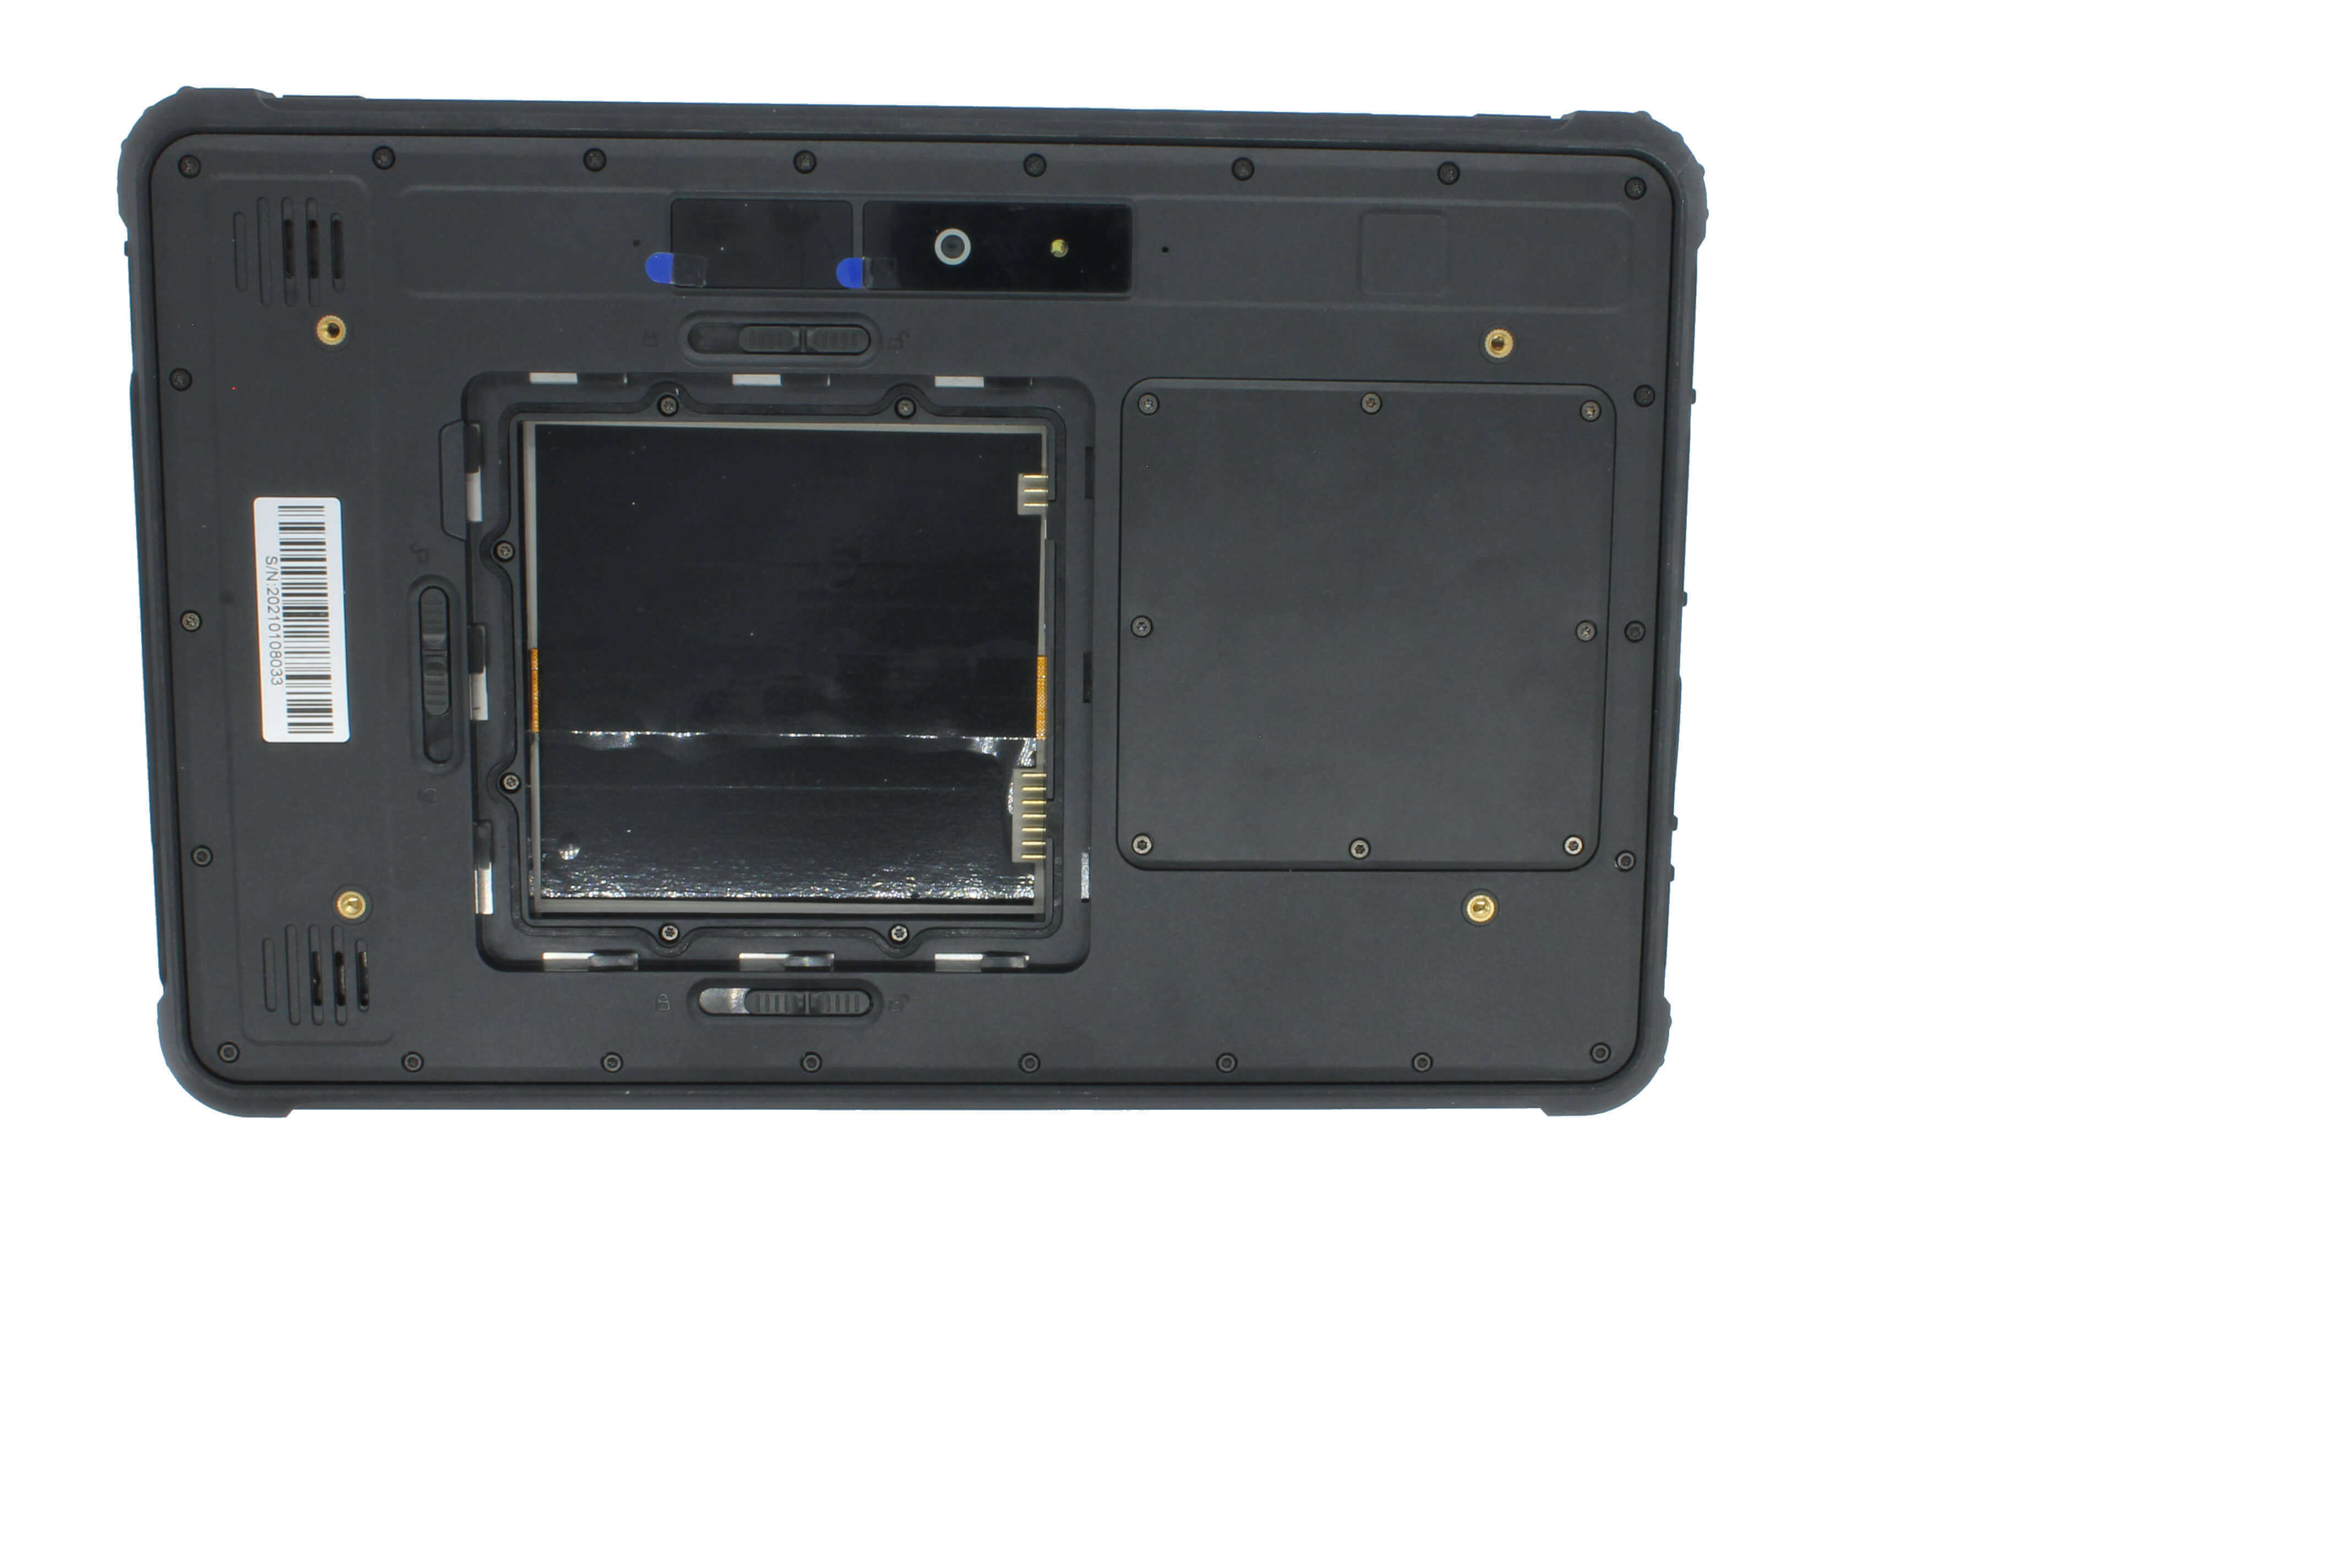
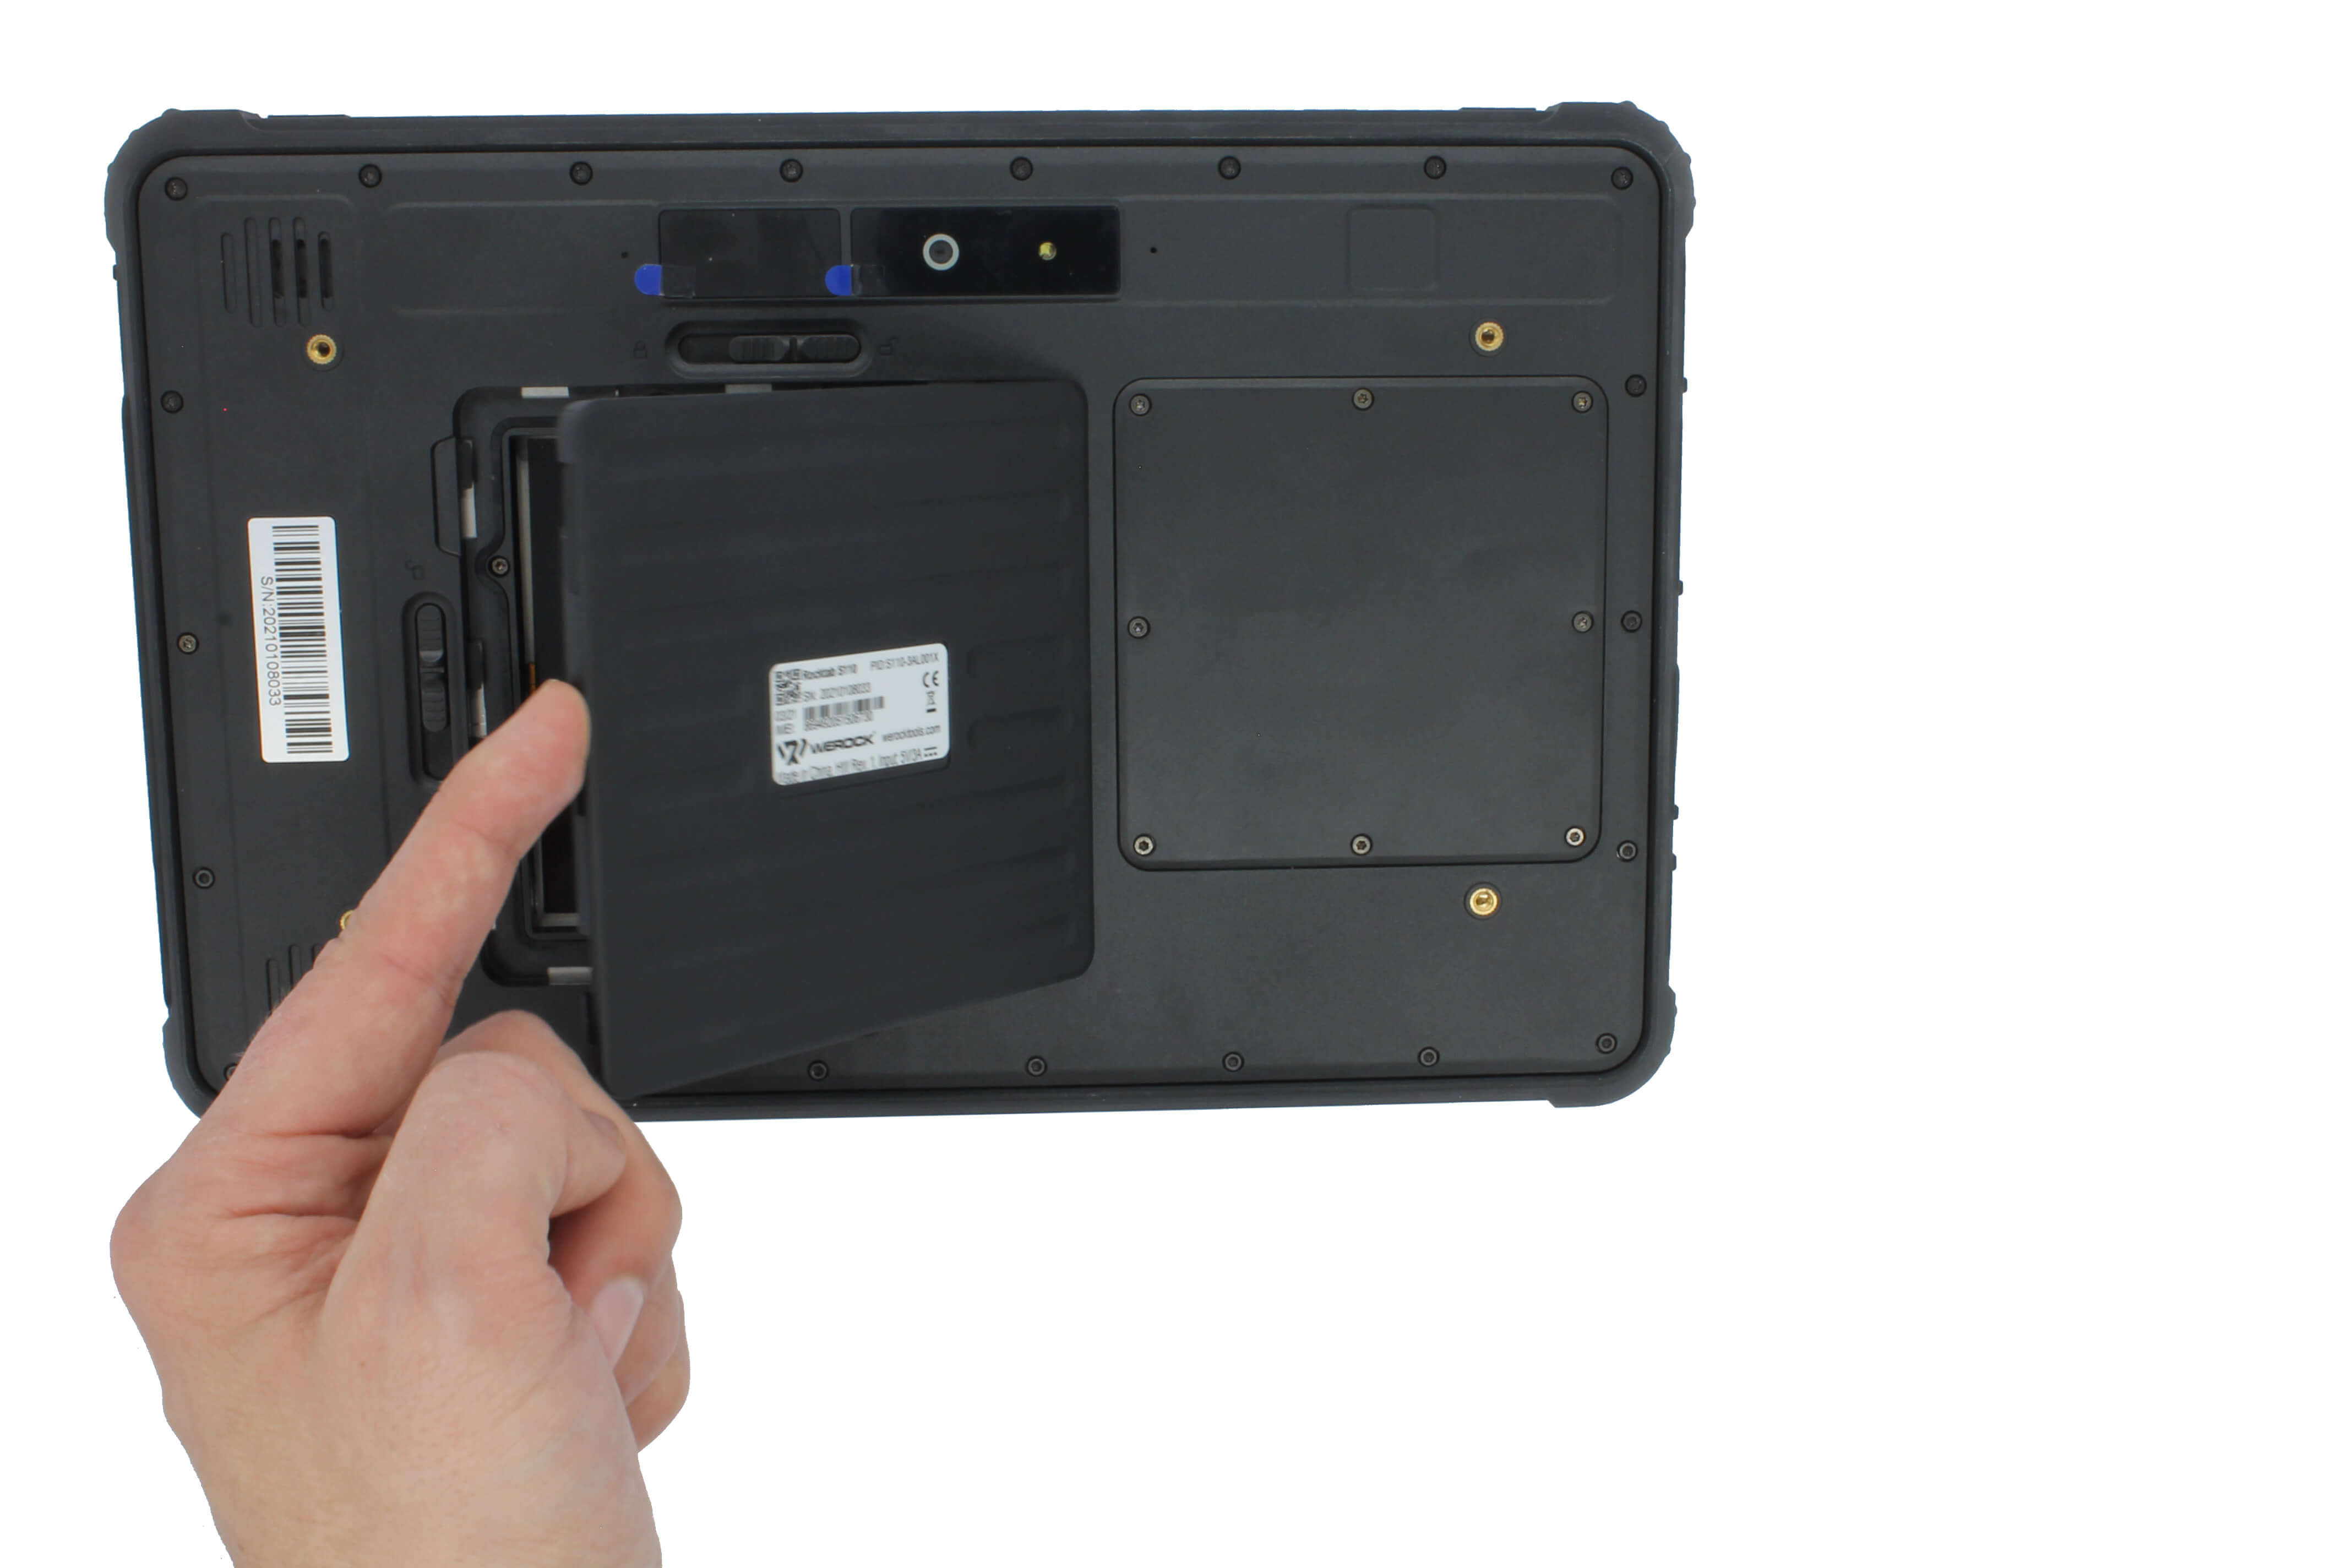
Install the battery (Rocktab S110 only)
- Insert the battery as indicated. The contacts of the battery must point to the matching contacts of the tablet.
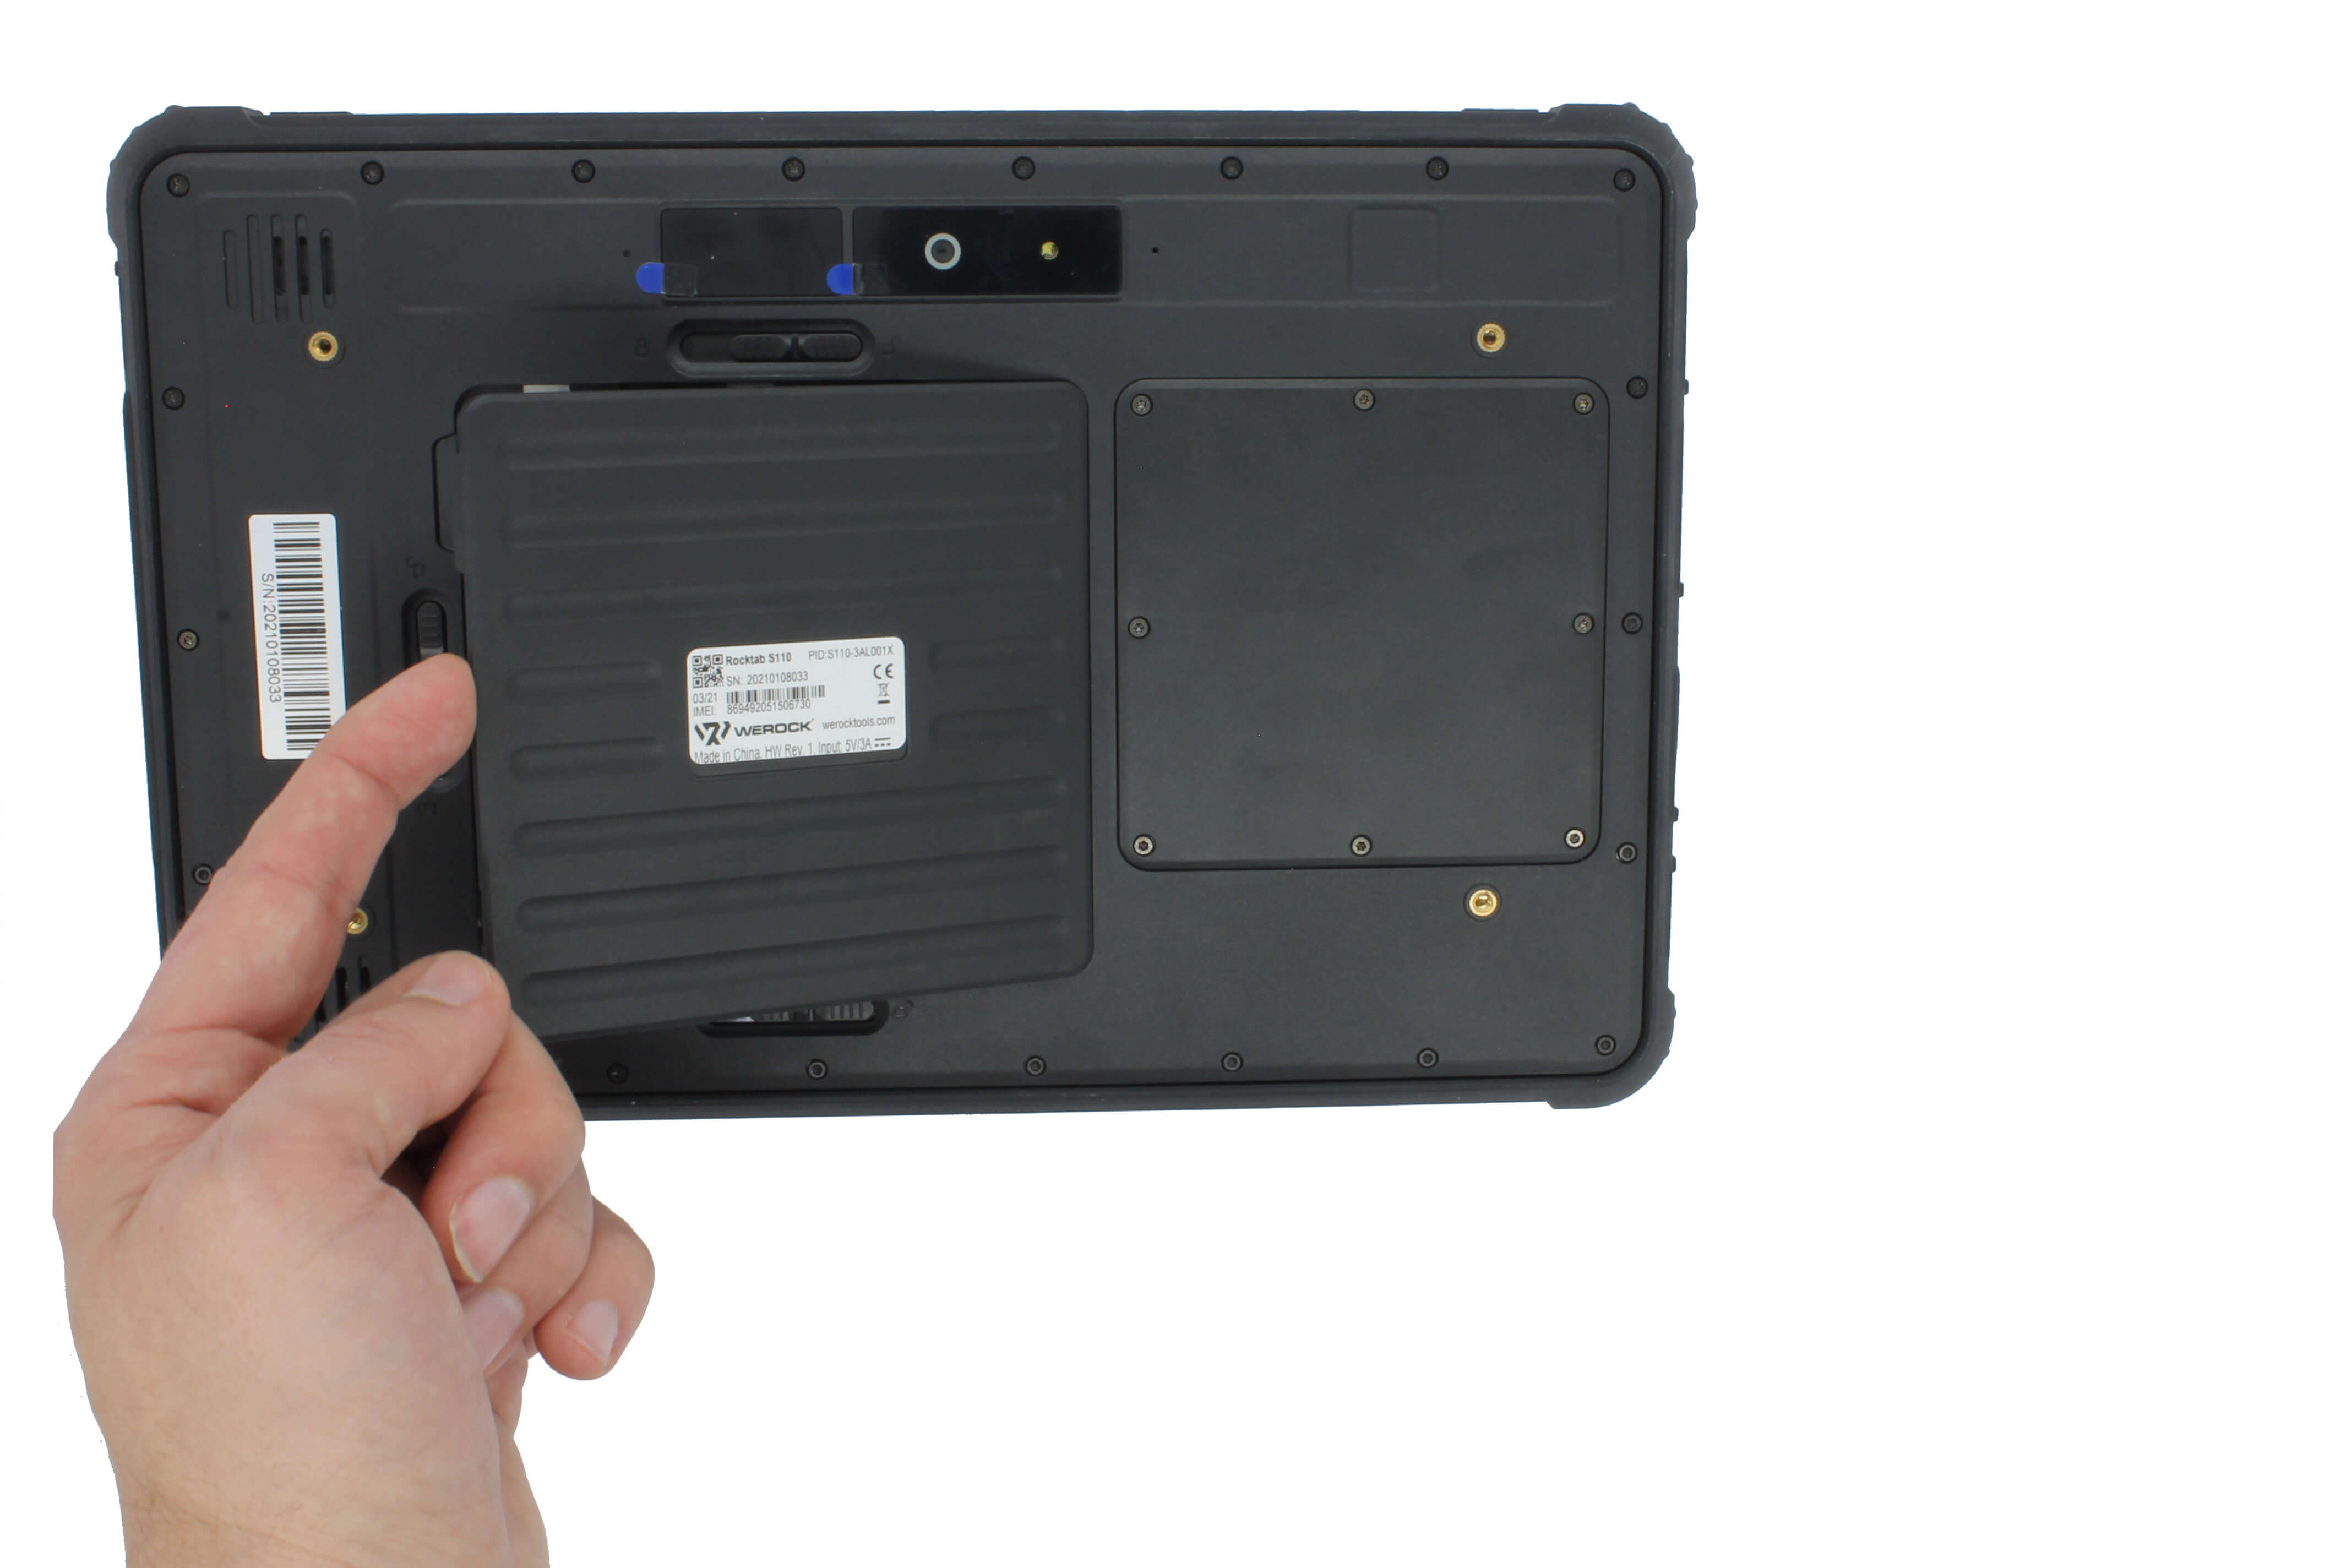
- Ensure that the battery is straight and secure in the tablet.
- Lock the battery in place using the three mounting tabs.
Charge the device
To charge the device, you need the power adapter included in the scope of delivery.
- Plug the cable of the power adapter into the designated socket of the tablet.
- Connect the power adapter to a power outlet. Make sure that it has the voltage specified in the technical data.
- As soon as the device is supplied with power and the battery is charged, the LED above the display starts to glow red.
Start the device
Press the on/off switch for approx. 2 seconds. It takes a few seconds until a first display appears on the screen.