Setting Up Android for the First Time
This chapter describes how to set up Android 12, which may be installed on the product for the first time. Individual steps may differ slightly in the course of software updates or due to different editions.
Setting up Android 12
Follow the steps below to complete the Android 12 setup process.
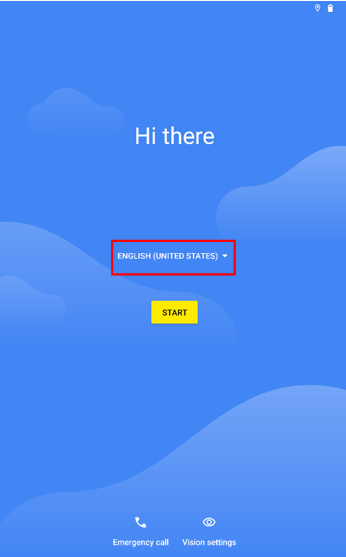
- Press the power button to switch on the device
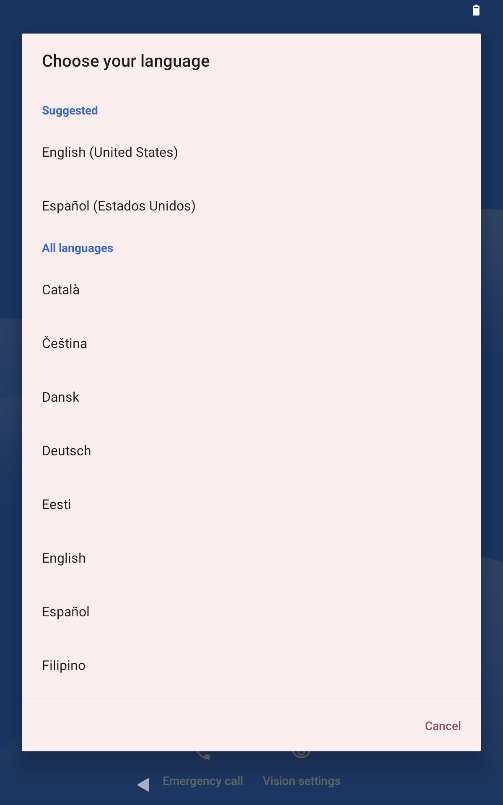
- First select your country/region, your preferred app language, your preferred keyboard layout and your time zone and then tap Next
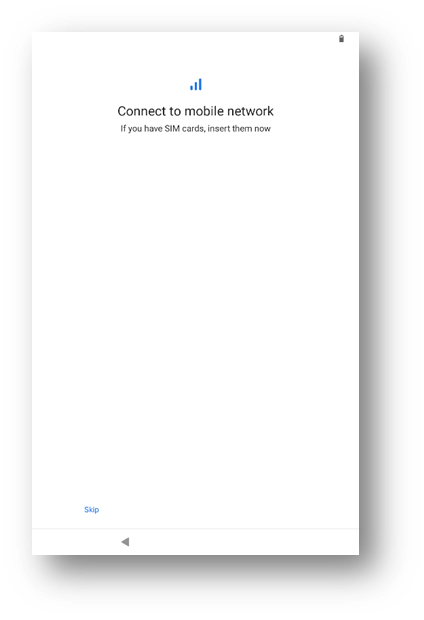
- If you have a SIM card for the , insert it into the device now, otherwise press "Skip" at the bottom left of the screen.
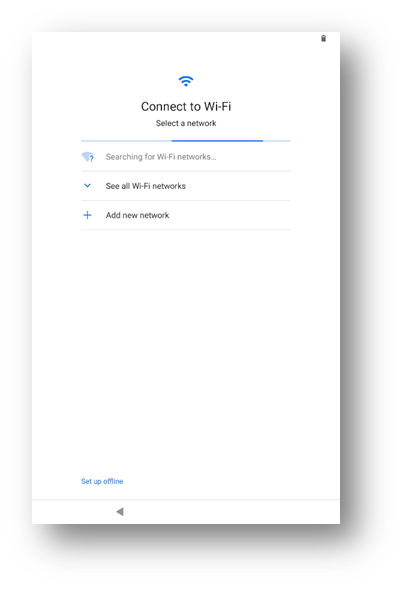
- Android 12 will then try to establish a connection to the network. Tap on "Set up offline" to continue without a WLAN connection, as you can then set up the network later or select your WLAN network to set up the connection.
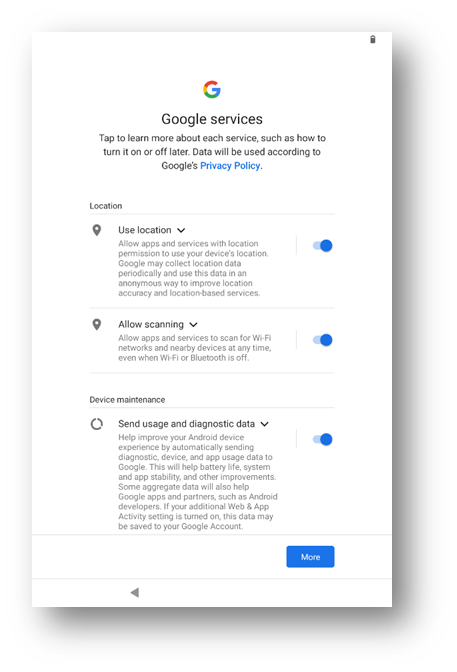
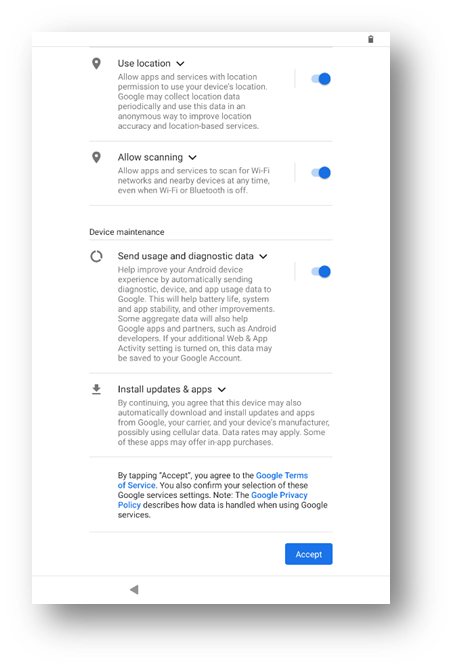
- In the following screen, select the permissions you want to grant to the Google services. Then click on " Accept ".
- 6. In the next screen, set a pin to unlock the tablet and click on continue. Then enter the pin a second time and click on "Confirm".
- The initial setup screens are complete and the desktop is displayed.
- Read all the introductory screens describing the features of your device and tap Next when you have completed each screen. You are now finished with the initial setup.