BIOS Setup
BIOS Setup Utility is a program for configuring the computer's BIOS (Basic Input/Output System) settings. BIOS is a software layer, also called firmware, that translates instructions from other software layers into instructions that the computer hardware can understand. BIOS settings are required by your computer to identify the types of devices installed and to set up special functions. This chapter tells you how to use the BIOS Setup utility.
When and how to use it
You need to run the BIOS Setup utility when:
- You see an error message on the screen prompting you to run the BIOS Setup Utility.
- you want to restore the factory default BIOS settings.
- You want to change some specific settings according to the hardware.
- You want to change some specific settings to optimize the system performance.
To run the BIOS setup utility:
- Click
 → "Settings" → "Update & Security" → "Restore". Under Advanced Startup, click "Restart now". In the Startup Options menu, click Troubleshooting → Advanced Options → UEFI Firmware Settings. Click Restart.
 - Generally, you can use the arrow keys to move around and the + / - keys to change the setting values. Keyboard information can be found at the bottom of the screen.
NOTE:
- The actual setting items of your model may differ from those described in this chapter.
- The availability of some setting items depends on the version of Windows running on your computer.
Menu Descriptions
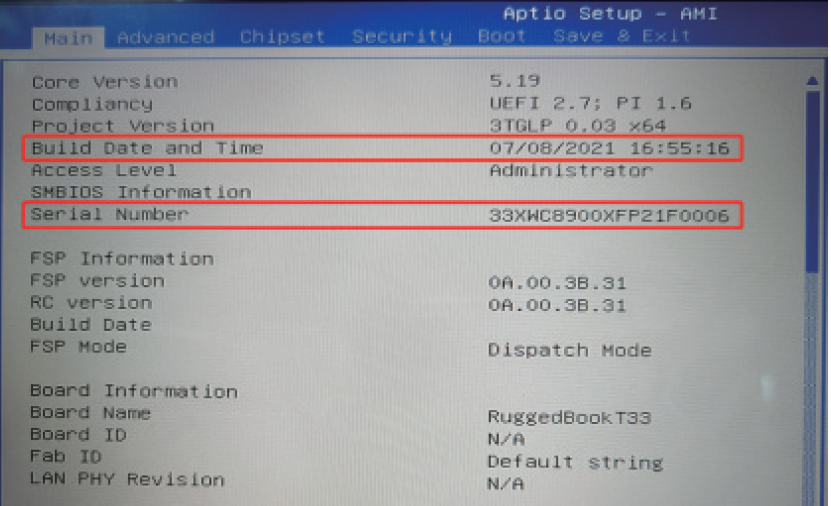
Main Menu
The Main Menu contains the various system settings.
- Build Date and Time(BIOS version date): Outputs the Bios version of the computer
- Serial Number: Displays the serial number of the computer
- EC FM Version: Displays the EC firmware version.
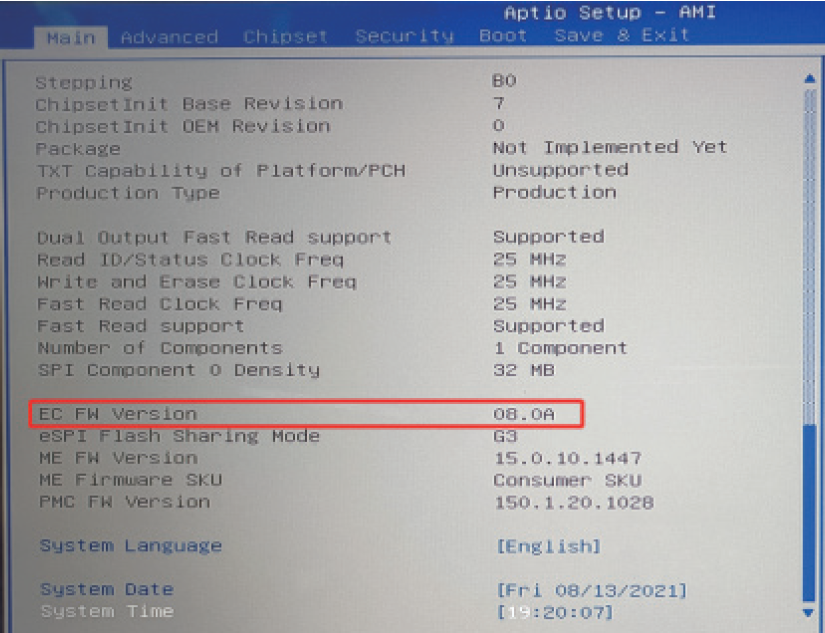
- System Language: Sets the system language.
- System Date: Sets the system date.
- System Time: Sets the system time.
Advanced Menu & Chipset Menu
The setting items in Advanced Menu and Chipset Menu are for developers to troubleshoot. Please do not change them at will.
Security Menu
The Security Menu contains the security settings that protect your system against unauthorized use.
- You can set the user password only if the supervisor password has been set.
- If both the administrator and user passwords are set, you can enter either password to start the system and/or enter BIOS Setup. However, with the user password, you can only view/change the settings of certain items.
- A password setting is applied immediately after confirmation. To delete a password, leave the password blank by pressing the Enter key.
- Set administrator/user password:Sets the supervisor/user password. You can set the supervisor/user password to be required to boot the system and/or enter BIOS setup.
- Secure Boot: Sets up the secure boot feature. This item can be used only after the supervisor password is set. (The Secure Boot feature can prevent unauthorized firmware, operating systems, or UEFI drivers from running during boot).
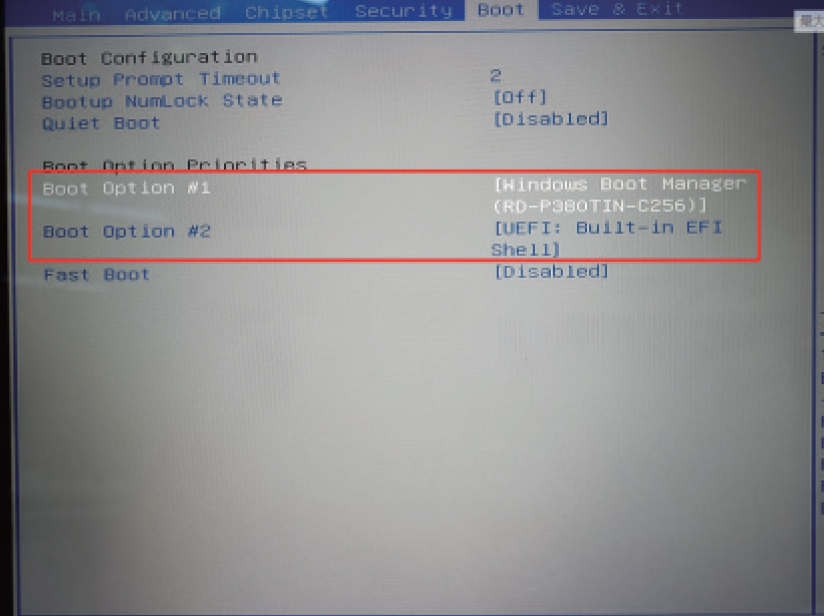
Boot Menu
The boot menu determines the order of devices to be scanned for the operating system..
Save & Exit menu
The Save & Exit menu displays options for exiting the BIOS setup utility. After you have made your settings, you must save and exit for the changes to take effect.
- Save Changes and Exit: Saves the changes you made and exits the BIOS Setup utility.
- Discard Changes and Exit: Exits the BIOS Setup utility without saving the changes you made.
- Save Changes and Reset: Saves the changes you made and restarts the device.
- Discard Changes and Reset: Restarts the computer without saving the changes you made.
- Restore Default: Loads the factory default values for all items.
- Save as User Defaults: Save user default settings.
- Restore User Defaults: Load factory defaults for all items.
- Saves Changes: Saves the changes you have made.
- Discard Changes: Reset all elements to their original values.