First start
Before using the product for the first time and before using it in everyday life, read the following instructions. This chapter provides information on the correct installation, connection and use of the product.
|
Hint: Items not included in the delivery are sold separately. |
|
HINT |
|
|
|
Damage of the display Do not place heavy objects on the computer, this could damage the display. |

|
Hint: Before connecting the product to a power outlet, make sure that the power cord is not pinched or damaged. Also make sure that the power output is within the voltage range of the product. |
First-Time operation
To put the Rockbook X130 into operation, proceed as follows:
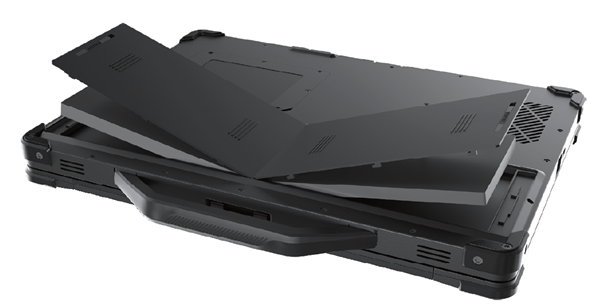
- Inserting the batteries
- Connecting the notebook to the power supply
- Turning on the computer
Inserting the batteries
There is a risk of explosion if the battery is incorrectly replaced. Replace the battery only with the computer manufacturer's optional battery packs. Dispose of used batteries according to the instructions in this manual.
Do not attempt to disassemble the battery pack.
The battery pack becomes hot during extended operation. Do not touch the hot battery pack with bare hands. Place the battery pack in a ventilated place after disassembly.
Note: If your computer model is equipped with more than one battery pack, you can plug in the other battery pack while the computer is running, as long as one of the battery packs is powered.
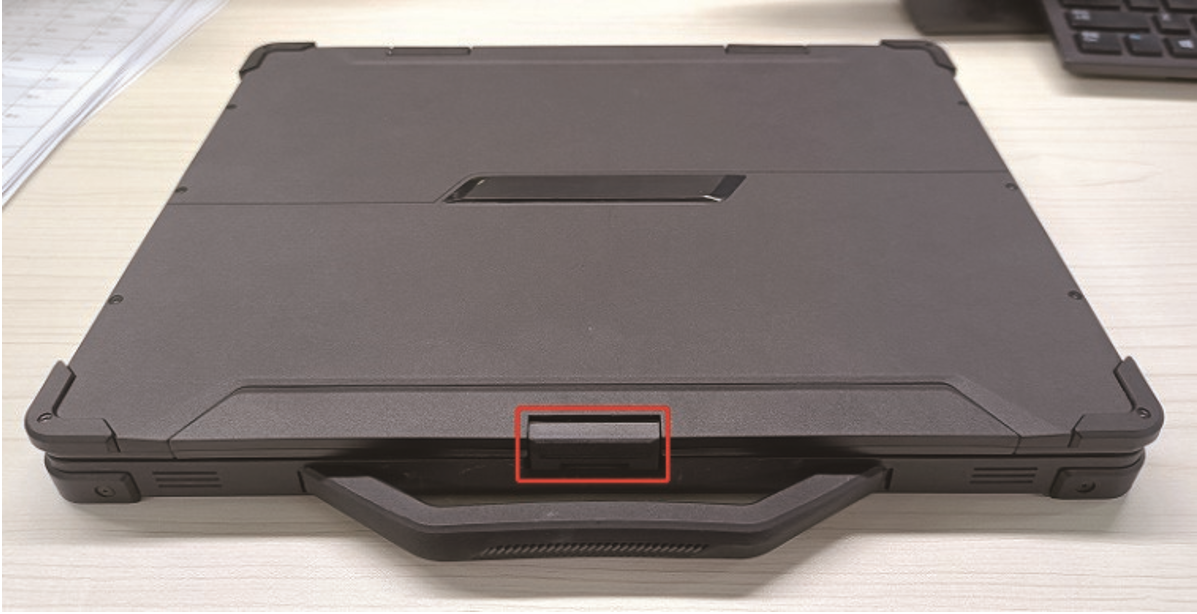
- Carefully turn the computer upside down.
- Locate the battery you want to remove.
- Slide the battery latch to the unlocked position (
 ) and hold it there. Meanwhile, slide the battery cover left and right.
 - Pull the battery out of the bay.
Connecting the notebook to the mains
|
|
|
|
|
Risk of damage to the computer due to incorrect power supply unit Incorrect or defective power supply units can cause the computer to malfunction or be damaged. Therefore, only use the original power supply unit supplied. |

Before using the device for the first time, you must connect it to a power supply. Proceed as follows:
- Open the waterproof connection flap of the power connector. Pull the tab to the left to open it.
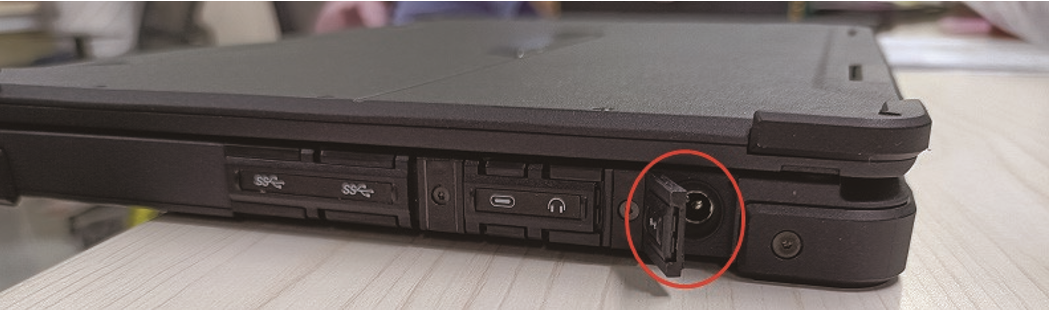
- Plug the round connector cable of the power supply into the computer.
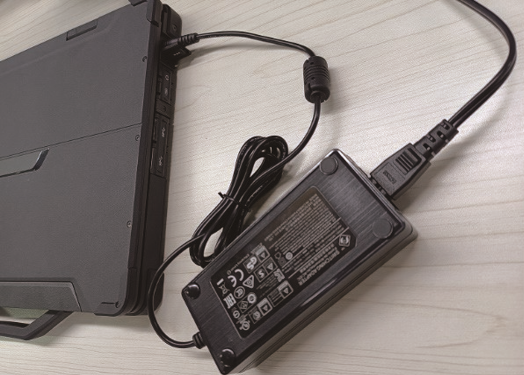
- Now connect the power cable to the power supply unit and then plug it into a power outlet. Make sure that the socket corresponds to the power supply specifications.
Turning on the computer
To turn on the computer, do the following:
- Pull the tab to release the display latch. Then open the notebook and position the display in a position that is comfortable for you. The display can be opened up to 180°.
- Press the on/off button
 . Windows should now start.
The battery is the internal power source for the computer. It can be recharged using the power adapter.
Note: Although the device is equipped with a hot-swap feature, the time to disconnect the battery pack is limited to when the battery is not charged.
Charging the battery pack
Note: The charging temperature of the battery pack is between 0° C and 50° C.
To charge the battery pack, connect the AC adapter to the computer and to a power outlet. The battery indicator () on the computer lights red to indicate that charging is in progress. When the battery is fully charged, the battery indicator turns green.
After fully charging the computer, do not immediately disconnect and reconnect the AC adapter to recharge it. Doing so may damage the battery.
Checking the Battery Level
When the battery is fully charged, the power supply time depends on how you use the computer. If the software you use requires frequent use of peripherals, the power may soon be depleted.
You can find the battery icon in the Windows taskbar (lower right corner). The icon indicates the approximate battery level.
For models that have both a main battery and a secondary battery, both are discharged in parallel.
Note: The battery level displayed is an estimate. Actual operating time may differ from the estimated time depending on how you use the computer.
Low Battery Signs and Actions
If the battery is low, please immediately connect the adapter, put the computer to sleep, or turn off the computer.