Firmware upgrade
Rockscan W100 Firmware Update Manual
The firmware of the Rockscan W100 can be updated. Firmware updates fix bugs, add features, or make customer-specific changes.
If you encounter a problem or bug while using the Rockscan W100, or if you would like to make adjustments, please contact us. We may be able to provide you with updated firmware.
If you have received firmware for the Rockscan W100 from us, follow these steps to update it:
The update includes the following steps:
- Preparation - Downloading the update file and the update tool
- Copying the update files to the Android device
- Installing the update tool on the Android device
- Loading the update into the tool
- Connecting the Rockscan W100 to the Android device
- Starting the update
Preparation
You need the following to update the firmware:
- Android smartphone/tablet/PDA with Bluetooth
- Rockscan W100
- Firmware file (.BIN file)
- Update tool (.APK file)
Note: The Android device must provide access to the file manager and allow apps to be installed from unknown sources.
Copying the update files to the Android device
If your Android device allows it, you can download the ZIP folder directly to the Android device and then unzip it. The exact procedure varies depending on the device. Consult the operating instructions for your device to find out how to download and unzip files.
If you cannot download and unzip the ZIP folder directly on the Android device, use a PC to unzip and copy the two files to the Android device.
Note: To be able to copy files to an Android device, you usually have to allow the transfer of files when connecting to the PC. You will usually see a corresponding message in the notification center of your Android device, which you can use to call up and select this option.
Installing the update tool on the Android device
Note: The procedure described is an example. Depending on the Android device, the procedure for the individual steps may vary. Not all steps may apply to your device. If in doubt, consult the operating instructions for your device for information on installing third-party apps.
To install the tool, proceed as follows:
- First activate Bluetooth on your Android device.
- Open the file manager of your Android device.
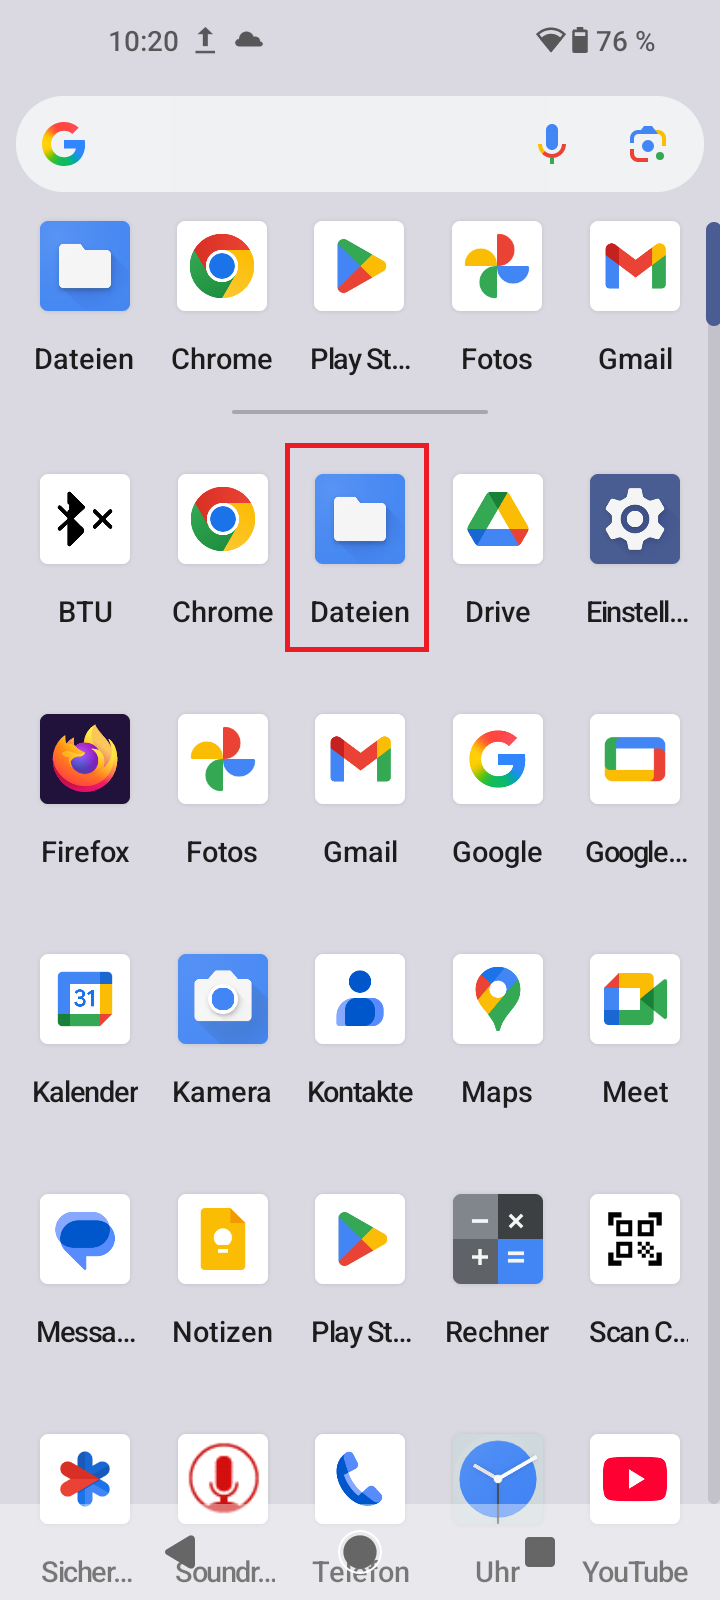
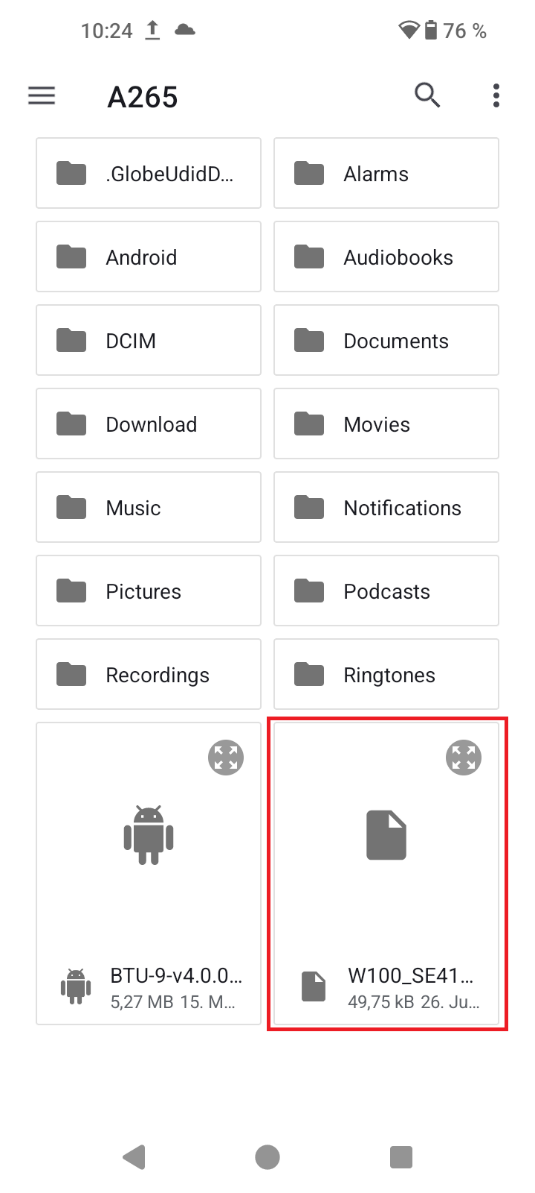
- Navigate to the location of the tool's APK file.
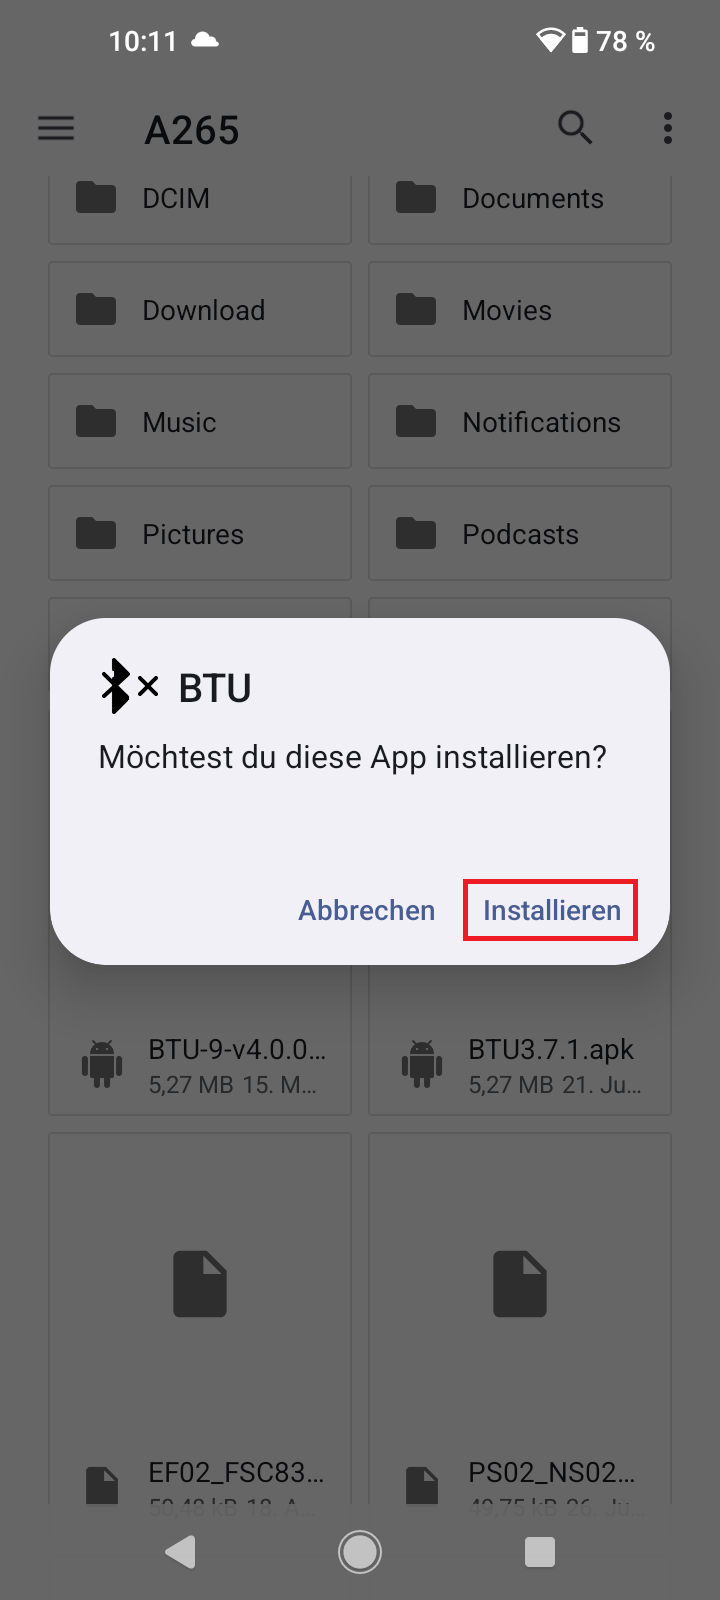
- Tap on it to start the installation.
- Confirm the installation dialog.
- If you are prompted to allow the installation of unknown apps, allow this and try the installation again.
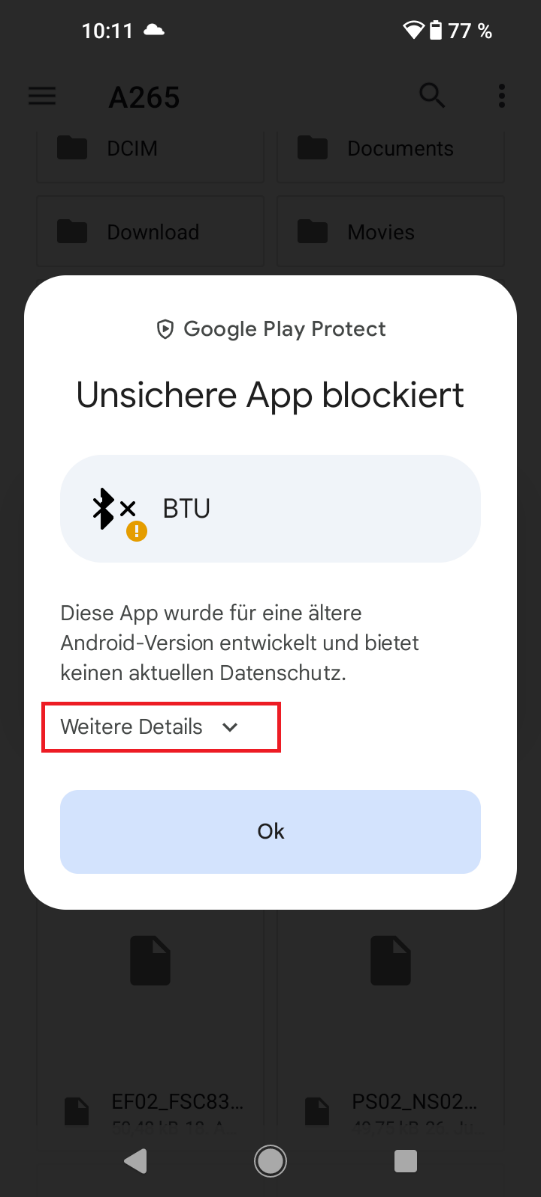
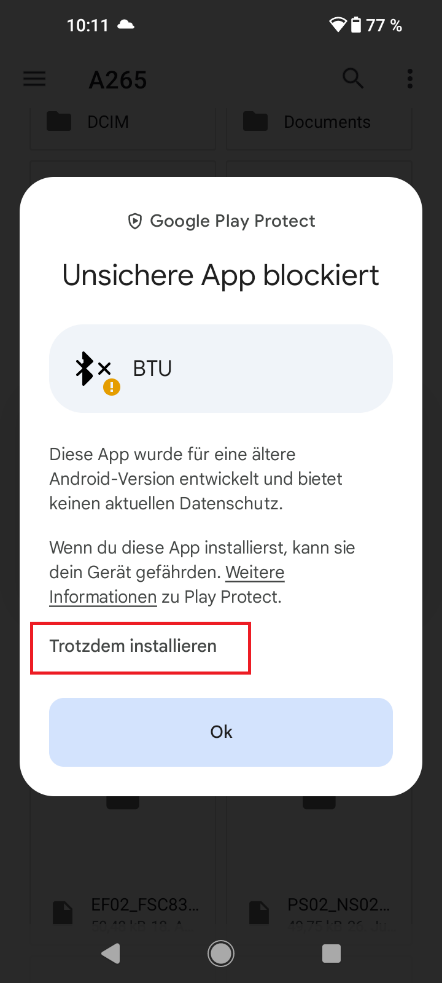
- If you are warned that the app is unsafe and was developed for an older Android version, tap on "More details" and then on "Install anyway".
- A "Google Play Protect" check may be required to install the app. If your device requires this, start the check and wait until the process is complete. An internet connection is required for this.
Note: If the installation fails, check whether your device is connected to the Internet and try again.
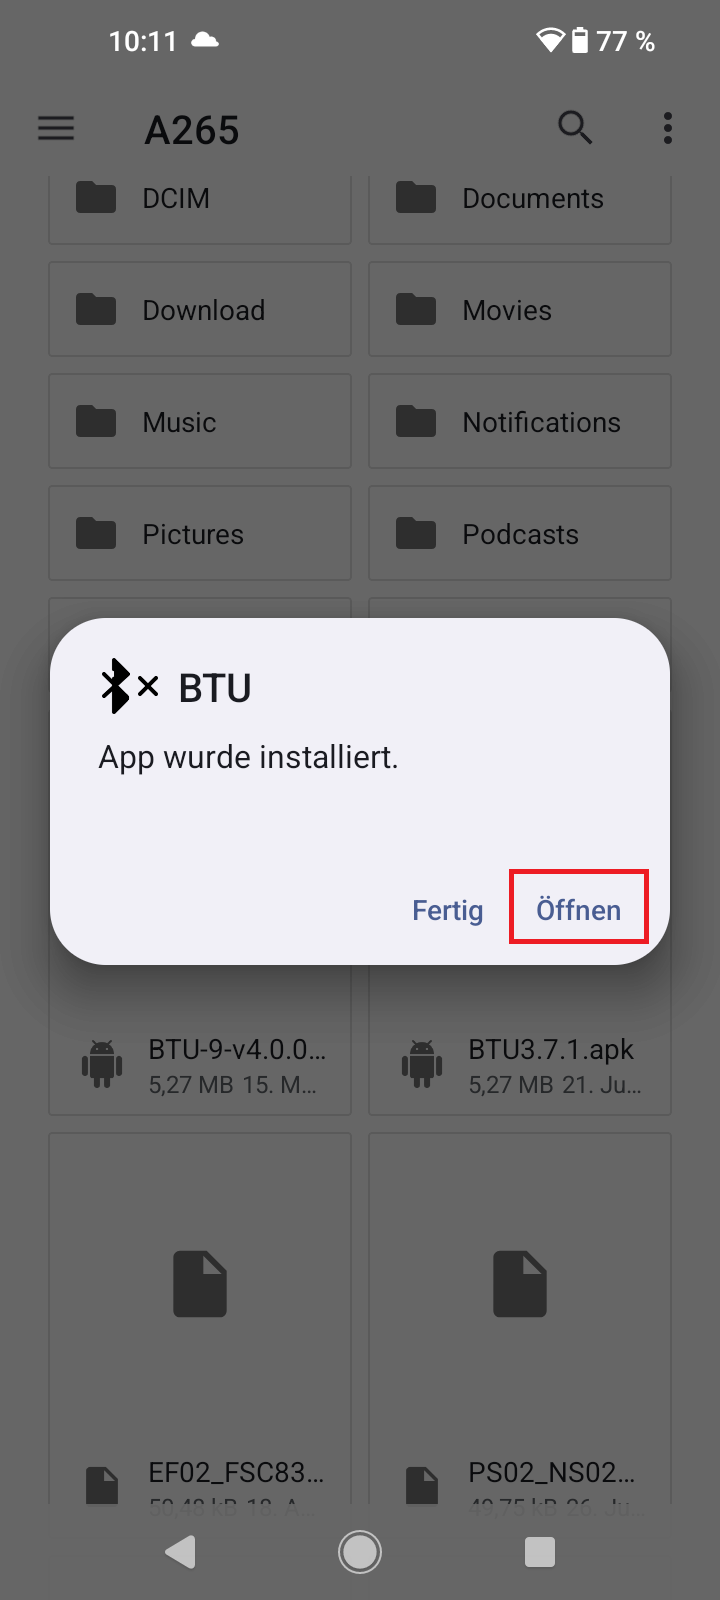
- Open the application.
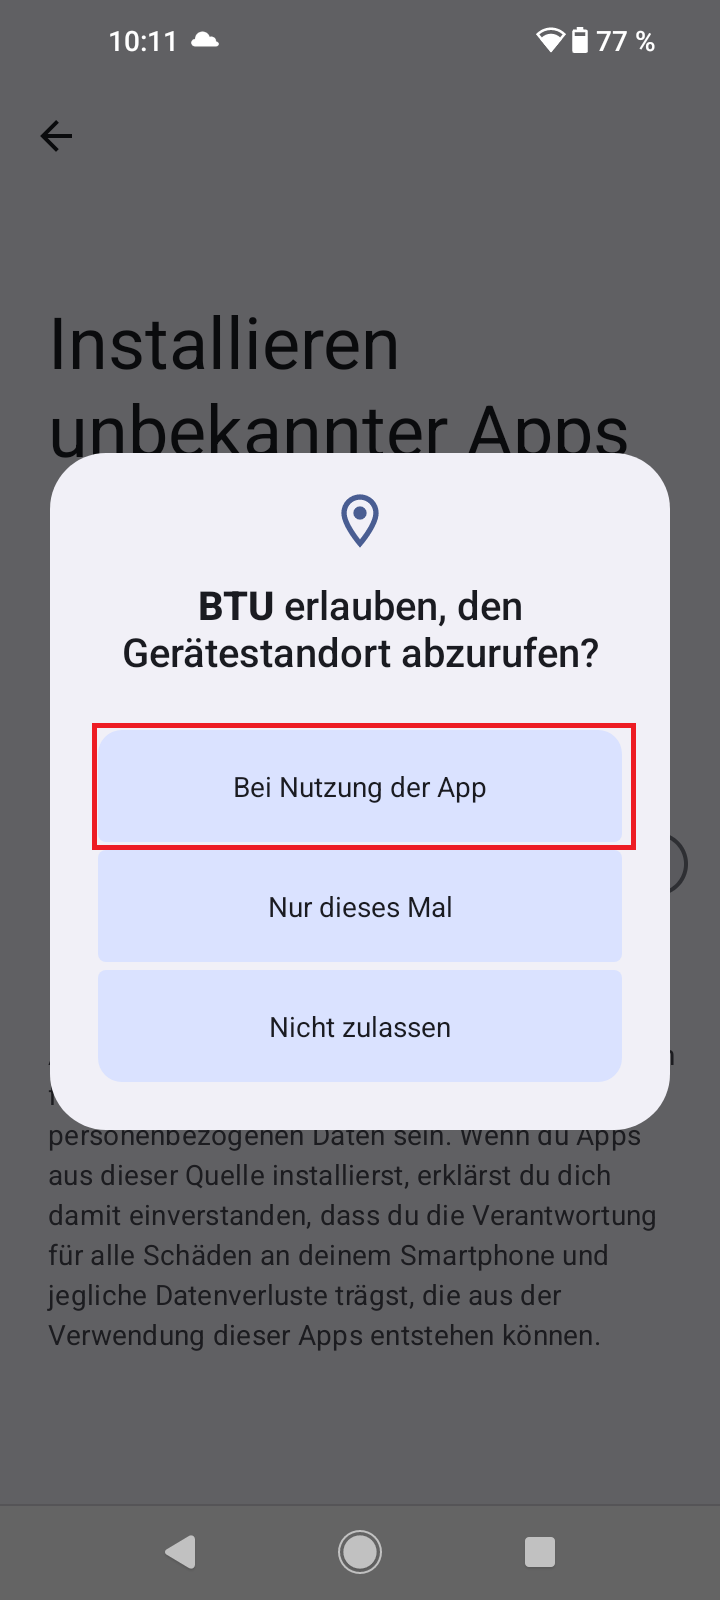
- Allow location access.
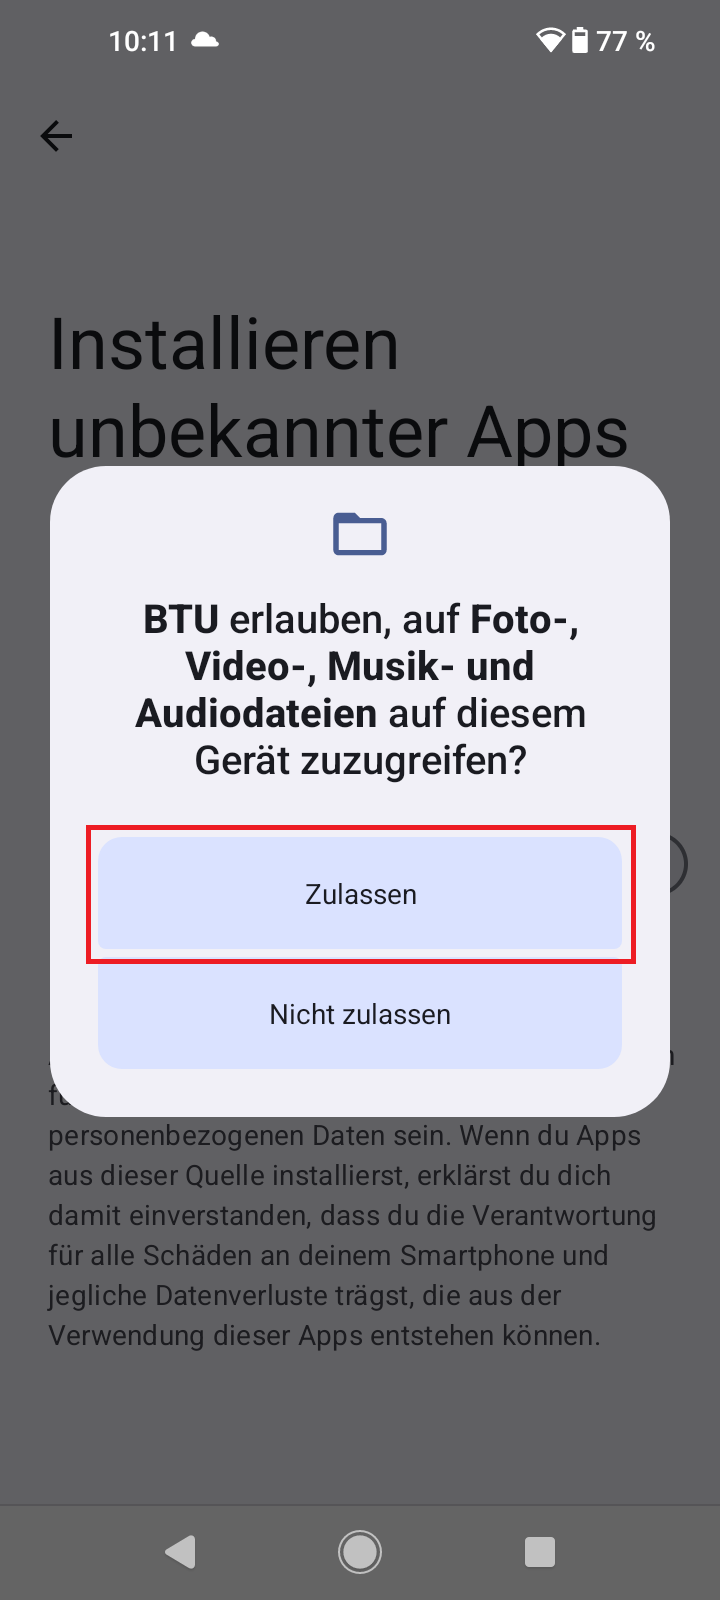
- Allow file access.
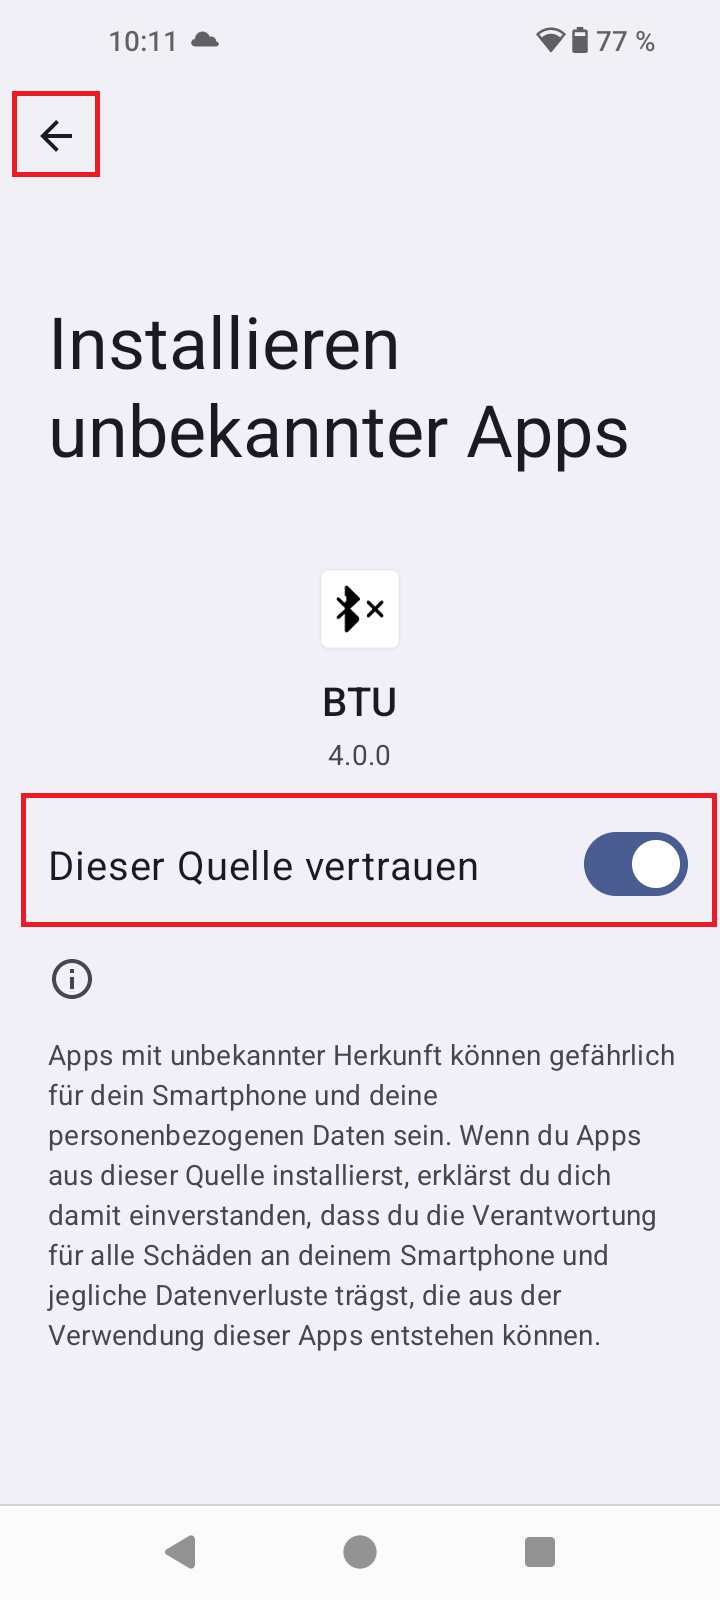
- Activate "Trust this source" and tap the back arrow.
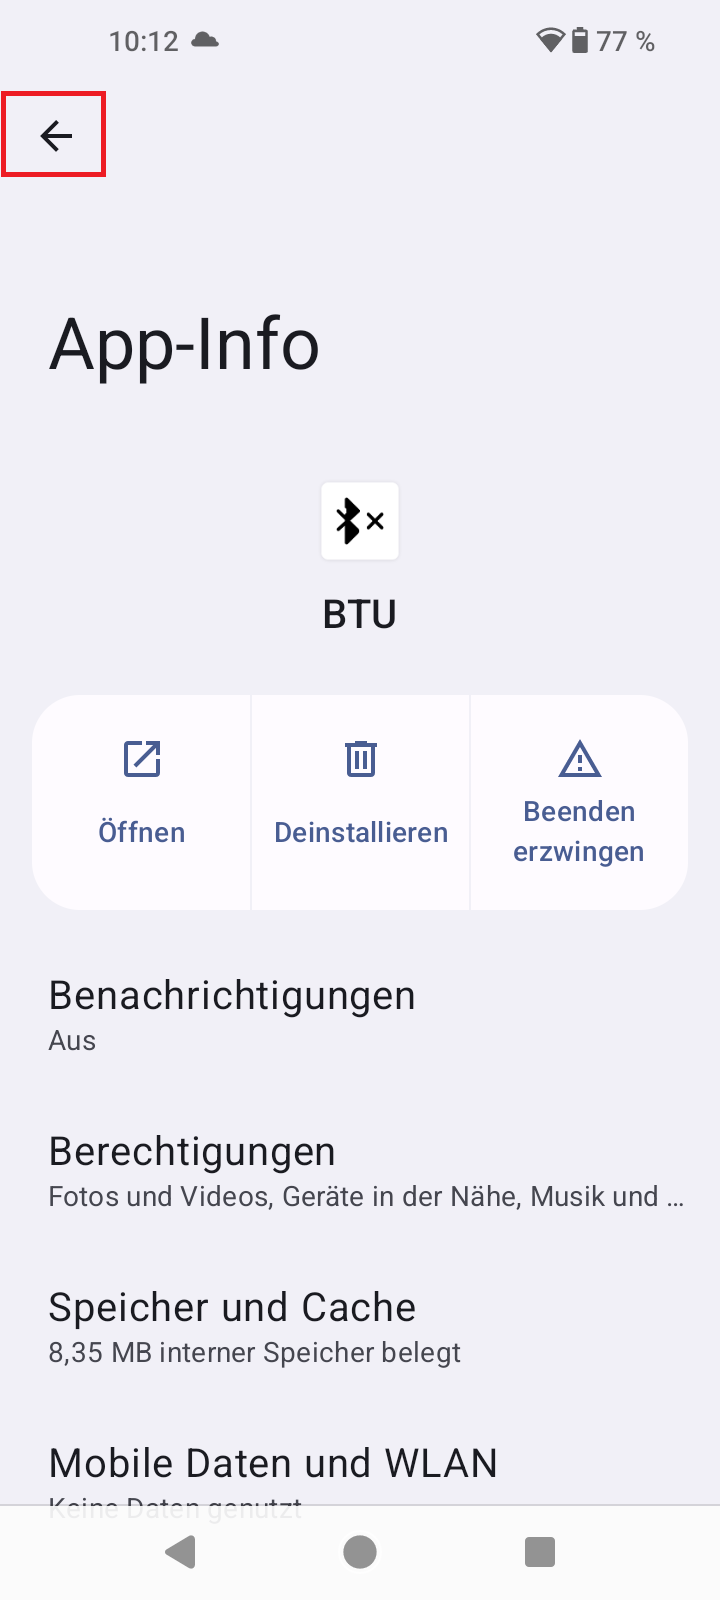
- The app info page opens; tap the back arrow again.
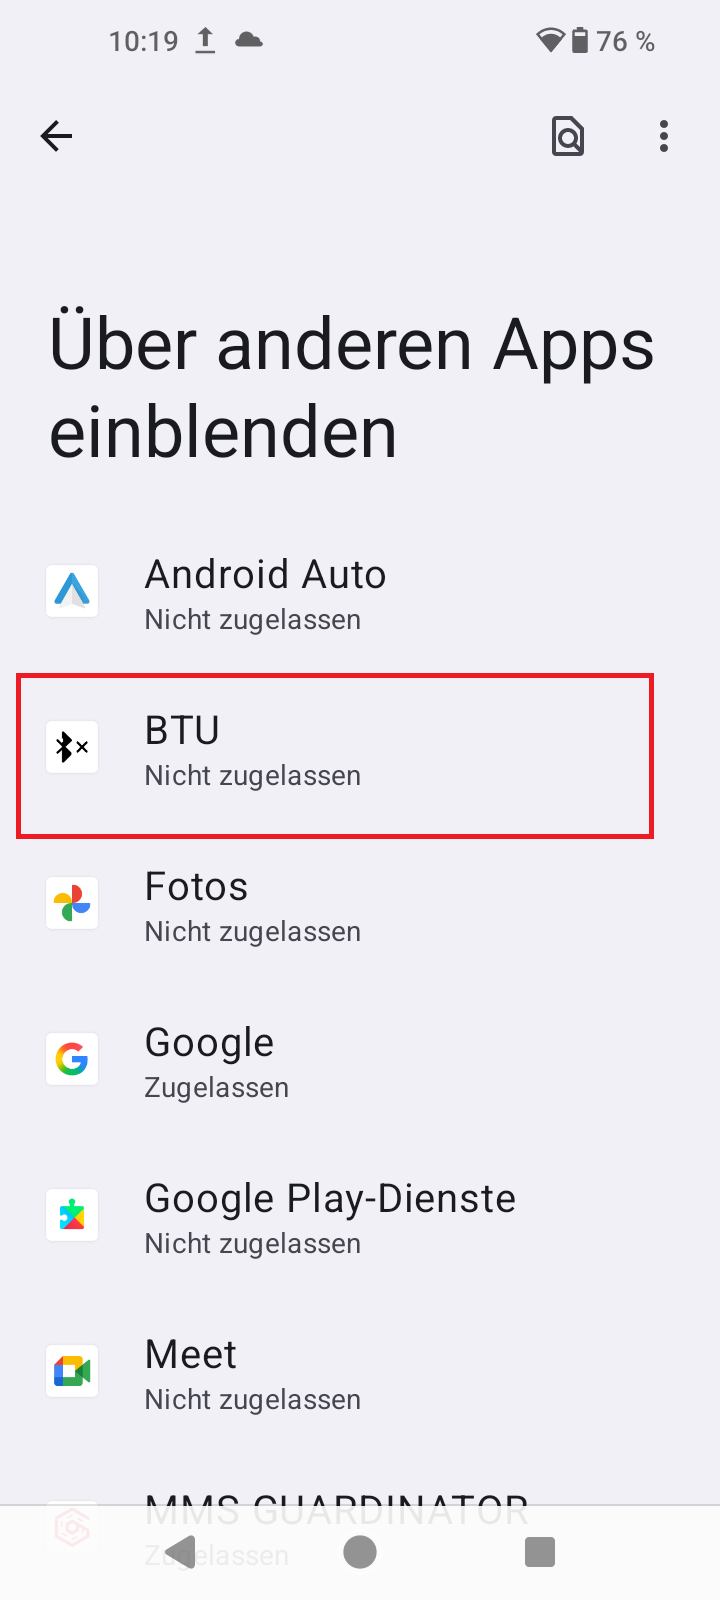
- Tap the app under "Show above other apps".
- Allow the app to be displayed above other apps.
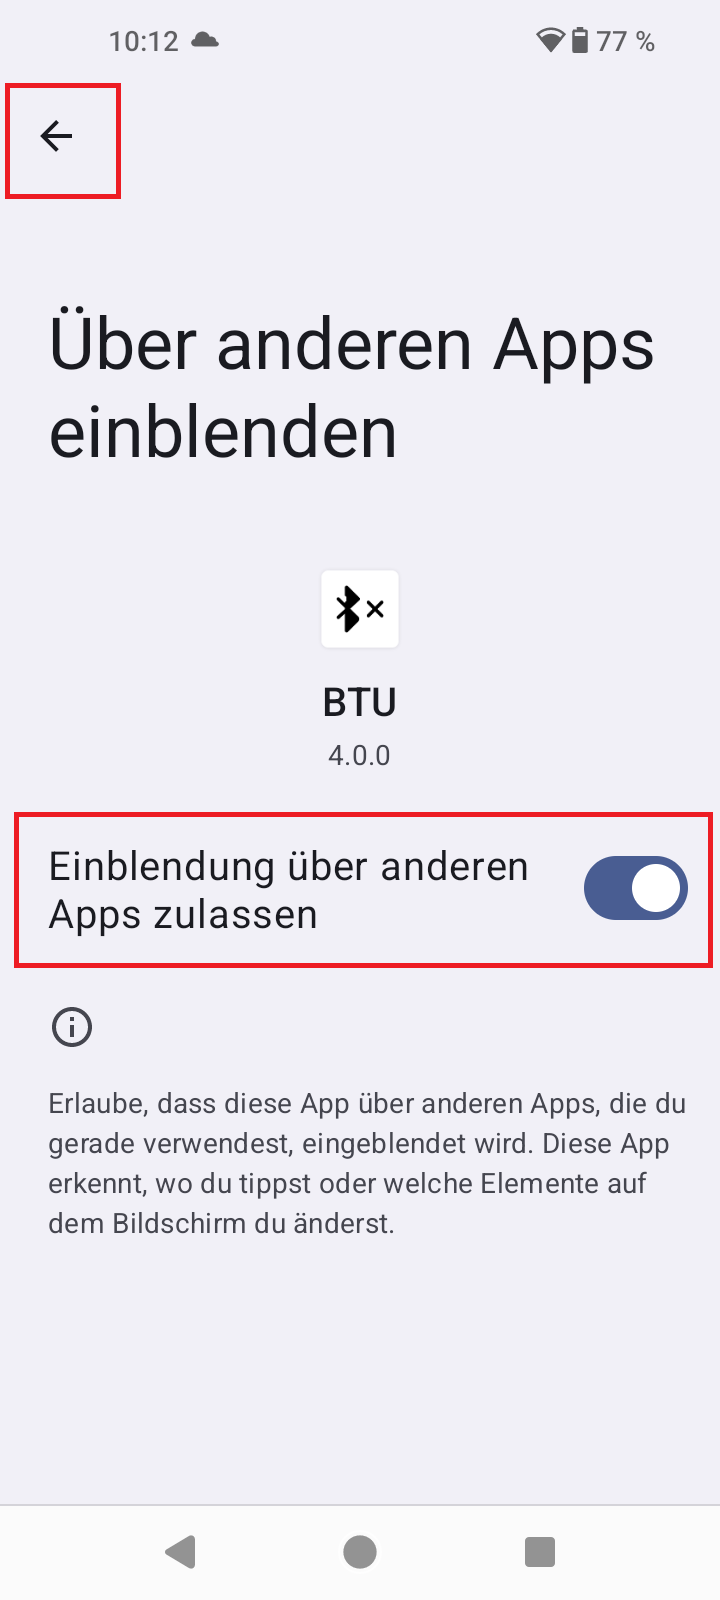
- Tap the back arrow again and then tap the back arrow again. The app then opens.
Loading the update into the tool
- Tap on "Open file".
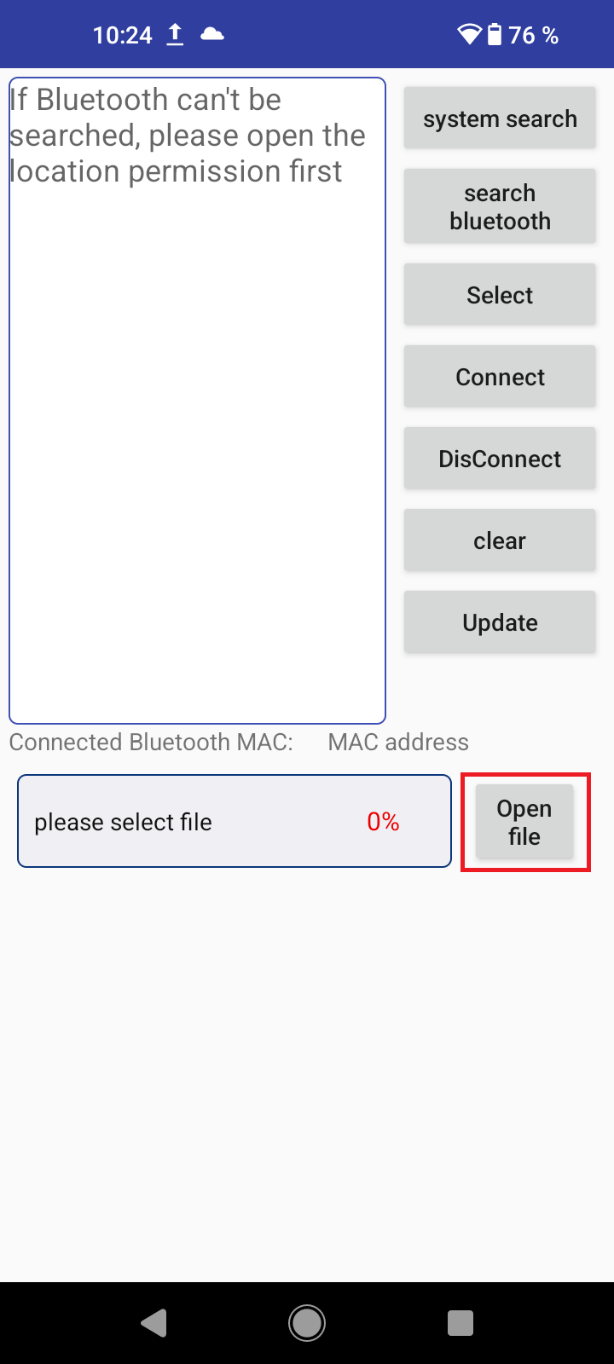
- Navigate to the storage location of the BIN file.
- Tap on it to load it.
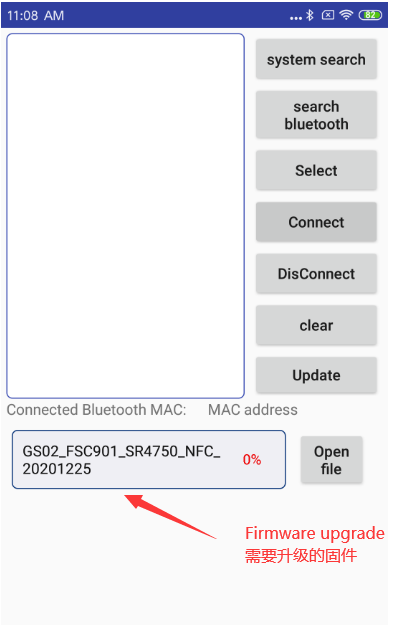
- The file name will appear in the app as shown once it has been successfully loaded.
Connecting the Rockscan W100 to the Android device
- Switch the Rockscan W100 to Bluetooth SPP mode. Information on the procedure can be found in the operating instructions at https://support.werocktools.com/w100/AuswahldesUbertragungsmodus.html
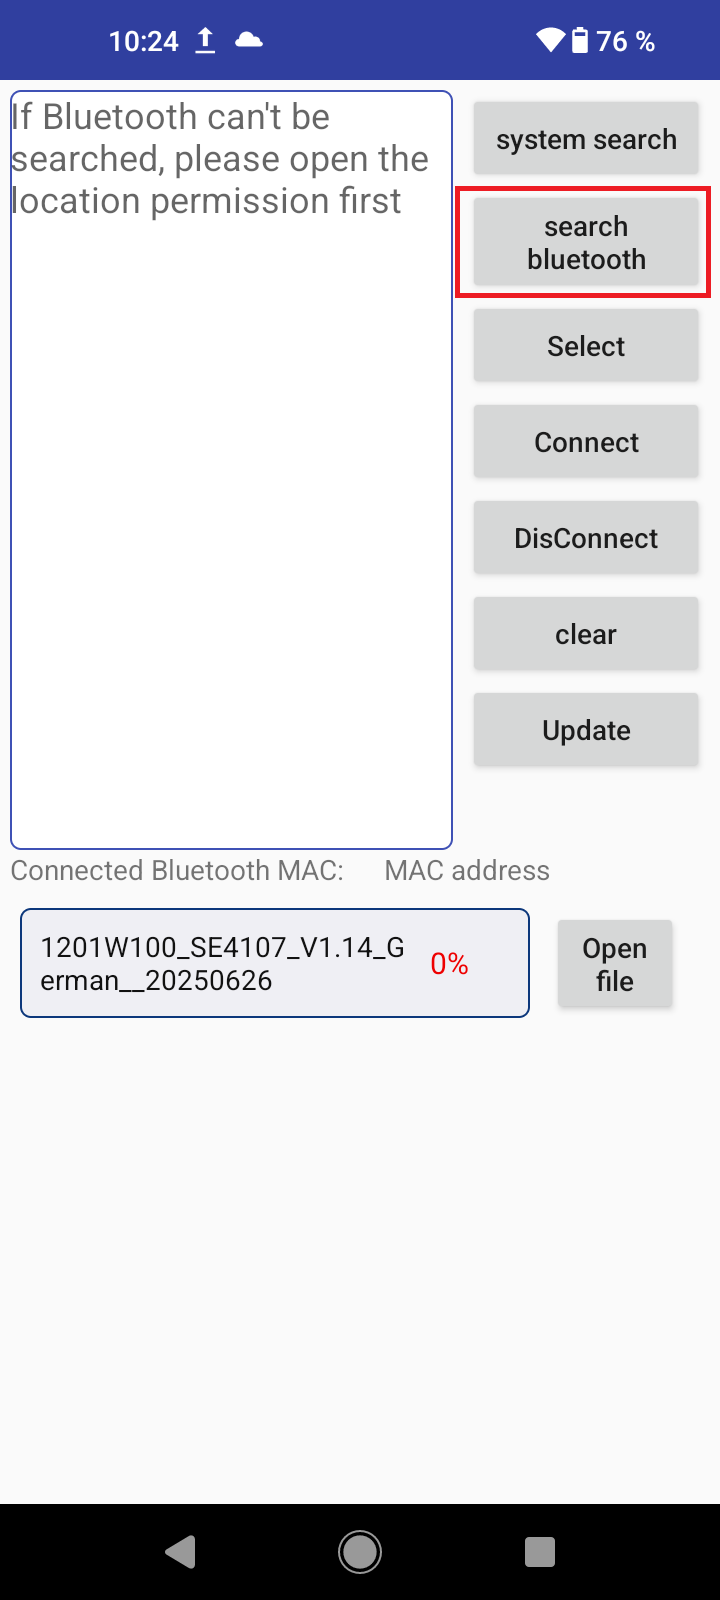
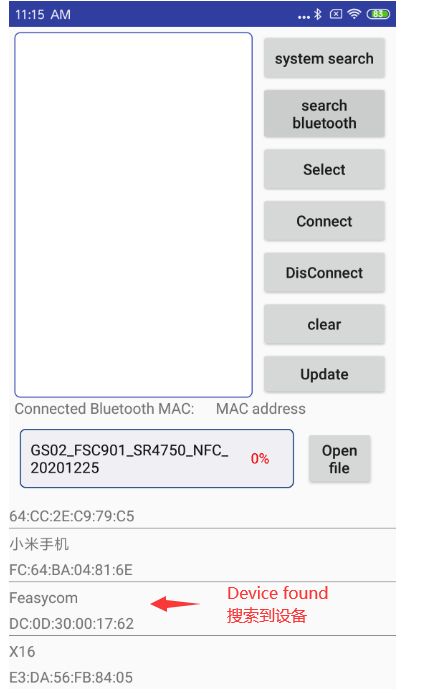
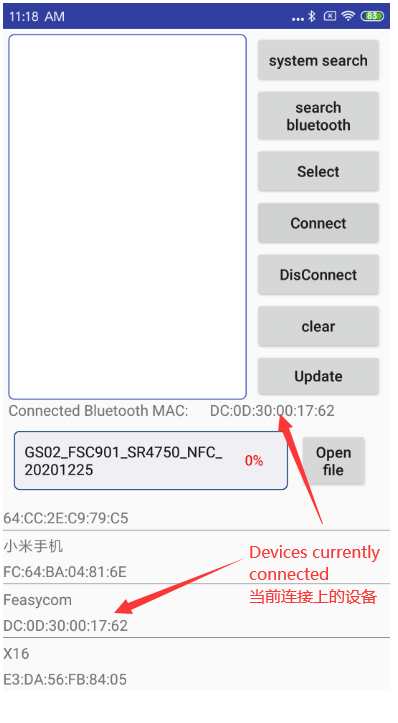
- Tap on "Search Bluetooth" and wait a moment until the app has completed the search and the message "Stop Search" appears. You will see a list of the devices found.
- Select the scanner by name and tap the entry. By default, this is "EF02".
- Allow pairing when a corresponding prompt appears.
- Check whether the pairing was successful. You can recognize this by the fact that the LED of the Rockscan W100 no longer flashes blue or lights up and the message "Connected" appears briefly in the app. The MAC address of the scanner also appears under "Connected Bluetooth MAC".
- If the connection fails, try again.
Starting the update
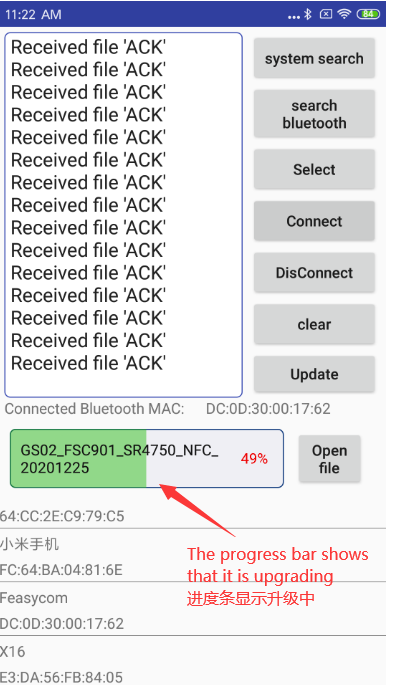
- First press the trigger button on the Rockscan W100 and simultaneously press the "Update" button in the app.
- The update process starts, which you can recognize by the fact that various status messages and a loading bar are displayed, see image. You can release the trigger button as soon as the update has started. Wait until the process is complete.
- Once the process has been successfully completed, you will see the message "Upgrade Successfully" and a completely green loading bar.
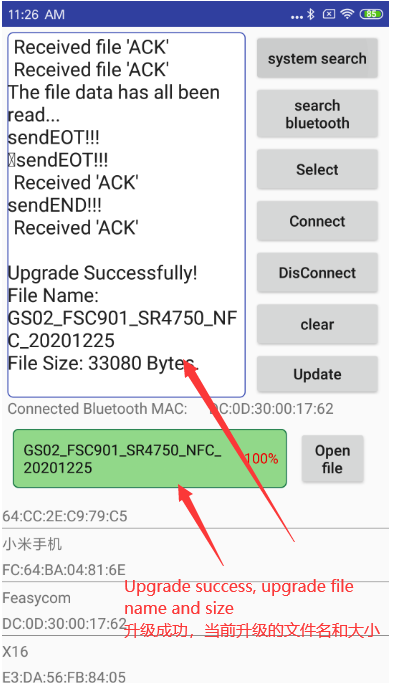
The update is complete and you can set up and use the scanner again according to your needs.
Note: If the update fails, try again.